
I've been baking all our bread for a few years now, and last summer I switched from white bread to sourdough because we prefer the flavor. Admittedly, by Victorian standards this is a slight devolution; by our period of the 1880s and 90s sourdough had distinctly lower-class connotations. White bread was the standard among the upper and middle classes; sourdough was seen as the bread of gold rush miners and country peasants. For this precise reason though it had a certain romantic appeal, associations with adventures in search of riches and of pastoral idylls. Alaska's Yukon miners took on the nickname Sourdough for themselves as a badge of pride, and the bread-style wasn't altogether eschewed by people in more civilized places. In large metropolises in America, even middle and upper-class Victorians would eat sourdough occasionally as a novelty—much in the same way that a modern American of Bill Gates' income bracket might still enjoy a hot dog from time to time. For Gabriel and myself I make sourdough loaves as our daily bread because (like I mentioned) we prefer the flavor.
We acquired our initial sourdough starter from a grocery store. The same store from which we buy our ice was selling wild yeast spores in paper packets the size of postcards from a San Francisco company. (Here's their website: http://goldrushproducts.com/about-us/) After the first week of feeding the starter every day and carefully husbanding it it started to feel like a pet. We began referring to it as The Beast, and the name stuck. My first few attempts to bake bread (using the recipe that came with our starter, then other sourdough recipes from various modern sources) resulted in stony little loaves with the approximate chewing enjoyment of boot leather and very little sourdough tang. This was clearly unsatisfactory, so I sat down and thought out the situation from a logical standpoint.
The modern recipes used very little starter but added crutches to the rising process like store-bought yeast and sugar. Furthermore they called for multiple kneadings of the dough during the rising process. Insufficient starter seemed like an obvious explanation for the bland taste and I reasoned there were two possibilities for why the loaves were so hard: Either there wasn't enough rising agent (i.e. starter) or too much of the air was being pushed out through overkneading as it was rising. I reminded myself that since sourdough is traditionally the bread of gold-rush miners, peasants, and ancient accidents, it had to be pretty darn simple. So I increased the amount of starter dramatically and only kneaded the dough once before forming it into a loaf and letting it rise. It worked perfectly, and everyone always comments on its amazing texture.
Some sourdough cultures have been cultivated for years; I've kept ours alive for many months now and have cooked countless tasty loaves of bread with it. I offer my recipe here for the reader's enjoyment:
Sourdough bread (Beast bread)
2 1/2—3 cups sourdough starter (Beast) The amount of Beast used depends on how runny it is.
2 1/2 cups bread flour
1 Tablespoon salt
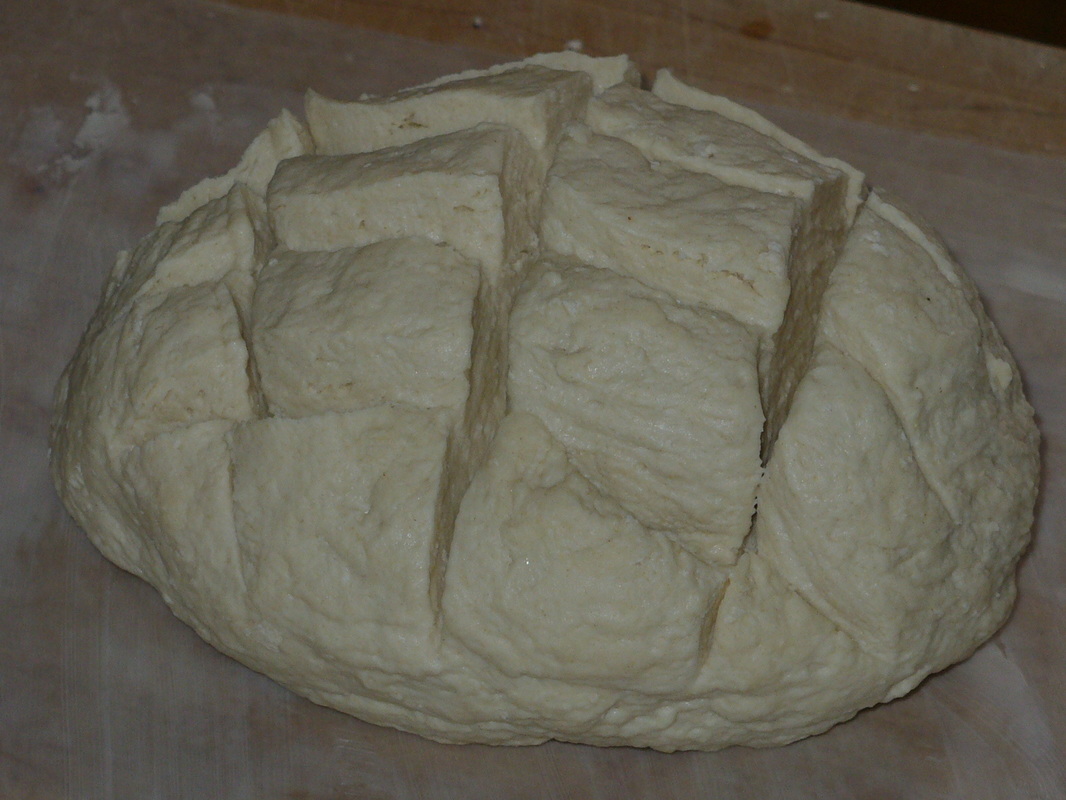
Mix. Knead until lively. Form into a loaf (or a round), set on a buttered piece of waxed paper, and cut cross-hatches over the top. Let rise until doubled (seven hours to overnight at 61 degrees Fahrenheit; less time at higher temperatures.) Try to trim off any extra waxed paper before baking the bread—waxed paper not in direct contact with the loaf will brown and smoke a little in the oven. (Don't worry: It won't catch fire, it just makes the air in the kitchen unpleasant for a while. Open a window if it's an issue.) Bake at 430 degrees F. for 20-25 minutes, or until the loaf sounds hollow when knocked on with a knuckle. Turn out immediately onto a dry breadboard and remove the waxed paper. Remember to feed The Beast (i.e., the original starter.)
Comments on The Beast
Like any pet, a Beast must be fed every day. A hungry Beast is a sad Beast. Here is how to feed it:
Beast feed
Equal parts bread flour and water. (1/2 cup each for a small batch, more for larger batches.)
Mix well, stir into Beast. Your Beast is now a happy Beast. Remember to feed the Beast every day.
—The Beast abhors metal. (Metal reacts badly with the vinegar produced by wild yeast as a by-product and does unpleasant things to the living yeast.) Store it in glass, ceramic, or plastic. Use only glass, ceramic, or plastic bowls for mixing Beast bread, and stir with a wooden spoon. If baking Beast bread in a metal pan, remember to line it with waxed paper. When making Beast bread, remember to butter the waxed paper unless you want to eat it later as an inseperable part of your bread (it doesn't taste very good.)
—The runniness of The Beast will depend on temperature and how much vinegar it has built up since the last time bread was baked. (It digests the natural sugar in its daily flour/water feed and puts out vinegar as a by-product—thus creating the tangy flavor of sourdough.) When making bread use enough Beast to absorb all the flour and create a dough that "cleans" your mixing bowl (i.e., doesn't leave huge sticky wads of itself behind—a few scraps are okay.) Use less Beast when it's really runny (hot, humid conditions, or when it's been building up vinegar for a while), more Beast when it's fairly solid. The "2 1/2 cups of Beast" figure in the recipe above applies when the Beast is about the same consistency as cake batter; use three cups when the texture is closer to oatmeal. The exact proportions will vary from kitchen to kitchen because temperatures and humidity are different in every home.
—"Lively" bread dough has the same texture as well-muscled human flesh.
—The cross-hatchings on the top of the loaf are to break up surface tension. This helps the loaf rise to its full potential.
We acquired our initial sourdough starter from a grocery store. The same store from which we buy our ice was selling wild yeast spores in paper packets the size of postcards from a San Francisco company. (Here's their website: http://goldrushproducts.com/about-us/) After the first week of feeding the starter every day and carefully husbanding it it started to feel like a pet. We began referring to it as The Beast, and the name stuck. My first few attempts to bake bread (using the recipe that came with our starter, then other sourdough recipes from various modern sources) resulted in stony little loaves with the approximate chewing enjoyment of boot leather and very little sourdough tang. This was clearly unsatisfactory, so I sat down and thought out the situation from a logical standpoint.
The modern recipes used very little starter but added crutches to the rising process like store-bought yeast and sugar. Furthermore they called for multiple kneadings of the dough during the rising process. Insufficient starter seemed like an obvious explanation for the bland taste and I reasoned there were two possibilities for why the loaves were so hard: Either there wasn't enough rising agent (i.e. starter) or too much of the air was being pushed out through overkneading as it was rising. I reminded myself that since sourdough is traditionally the bread of gold-rush miners, peasants, and ancient accidents, it had to be pretty darn simple. So I increased the amount of starter dramatically and only kneaded the dough once before forming it into a loaf and letting it rise. It worked perfectly, and everyone always comments on its amazing texture.
Some sourdough cultures have been cultivated for years; I've kept ours alive for many months now and have cooked countless tasty loaves of bread with it. I offer my recipe here for the reader's enjoyment:
Sourdough bread (Beast bread)
2 1/2—3 cups sourdough starter (Beast) The amount of Beast used depends on how runny it is.
2 1/2 cups bread flour
1 Tablespoon salt
Mix. Knead until lively. Form into a loaf (or a round), set on a buttered piece of waxed paper, and cut cross-hatches over the top. Let rise until doubled (seven hours to overnight at 61 degrees Fahrenheit; less time at higher temperatures.) Try to trim off any extra waxed paper before baking the bread—waxed paper not in direct contact with the loaf will brown and smoke a little in the oven. (Don't worry: It won't catch fire, it just makes the air in the kitchen unpleasant for a while. Open a window if it's an issue.) Bake at 430 degrees F. for 20-25 minutes, or until the loaf sounds hollow when knocked on with a knuckle. Turn out immediately onto a dry breadboard and remove the waxed paper. Remember to feed The Beast (i.e., the original starter.)
Comments on The Beast
Like any pet, a Beast must be fed every day. A hungry Beast is a sad Beast. Here is how to feed it:
Beast feed
Equal parts bread flour and water. (1/2 cup each for a small batch, more for larger batches.)
Mix well, stir into Beast. Your Beast is now a happy Beast. Remember to feed the Beast every day.
—The Beast abhors metal. (Metal reacts badly with the vinegar produced by wild yeast as a by-product and does unpleasant things to the living yeast.) Store it in glass, ceramic, or plastic. Use only glass, ceramic, or plastic bowls for mixing Beast bread, and stir with a wooden spoon. If baking Beast bread in a metal pan, remember to line it with waxed paper. When making Beast bread, remember to butter the waxed paper unless you want to eat it later as an inseperable part of your bread (it doesn't taste very good.)
—The runniness of The Beast will depend on temperature and how much vinegar it has built up since the last time bread was baked. (It digests the natural sugar in its daily flour/water feed and puts out vinegar as a by-product—thus creating the tangy flavor of sourdough.) When making bread use enough Beast to absorb all the flour and create a dough that "cleans" your mixing bowl (i.e., doesn't leave huge sticky wads of itself behind—a few scraps are okay.) Use less Beast when it's really runny (hot, humid conditions, or when it's been building up vinegar for a while), more Beast when it's fairly solid. The "2 1/2 cups of Beast" figure in the recipe above applies when the Beast is about the same consistency as cake batter; use three cups when the texture is closer to oatmeal. The exact proportions will vary from kitchen to kitchen because temperatures and humidity are different in every home.
—"Lively" bread dough has the same texture as well-muscled human flesh.
—The cross-hatchings on the top of the loaf are to break up surface tension. This helps the loaf rise to its full potential.
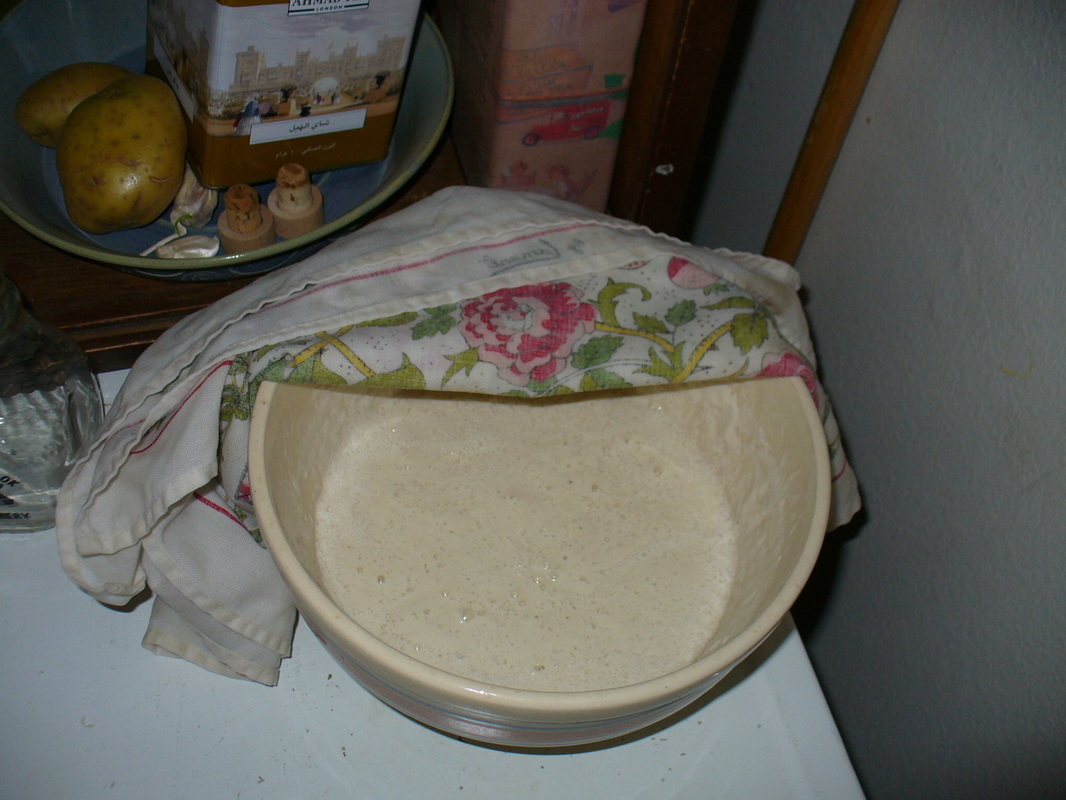
My beast! I keep it in a pottery bowl that belonged to my grandmother. When not in use I keep it covered with a damp towel and invert another large ceramic bowl over top of it. This creates a loose seal and regulates humidity. If I spill Beast on the towel or it starts to smell like vinegar, I just change it out for a clean one.
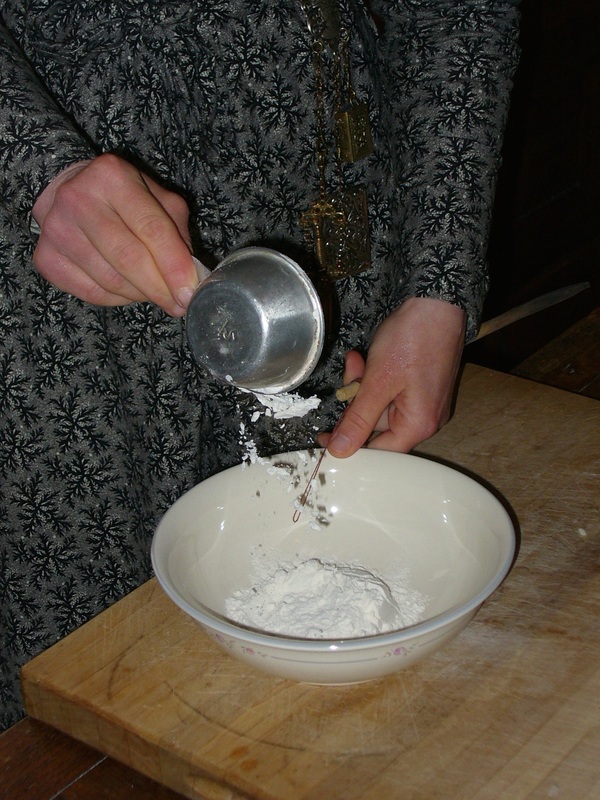
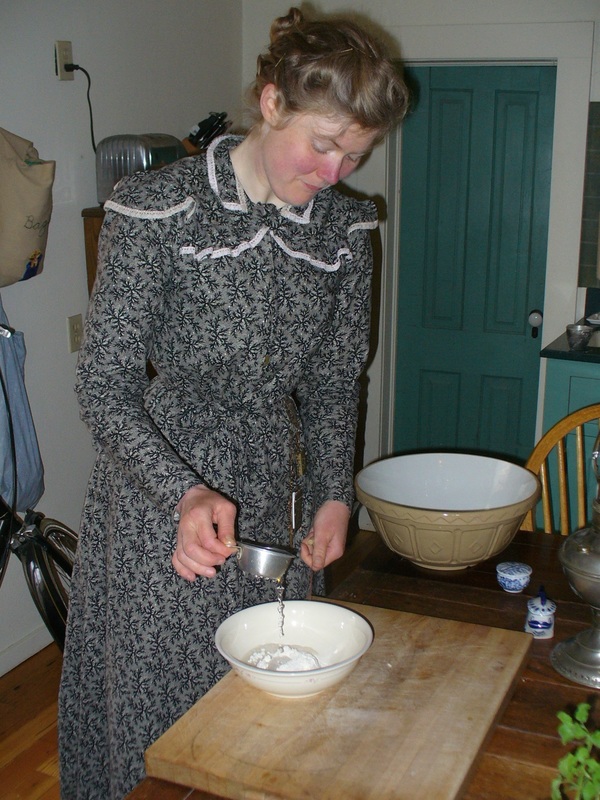
Measuring out 2 1/2 cups of bread flour. My tin measuring cups also belonged to my grandmother. It's just the Beast itself that abhors metal; it's fine to use metal measuring cups for the flour and water. My favorite flour brand is Gold Medal: A Victorian company whose name originated with a prize won in an international miller's competition in 1880. (Their website: http://www.goldmedalflour.com/OurFlourStory/OurHeritage
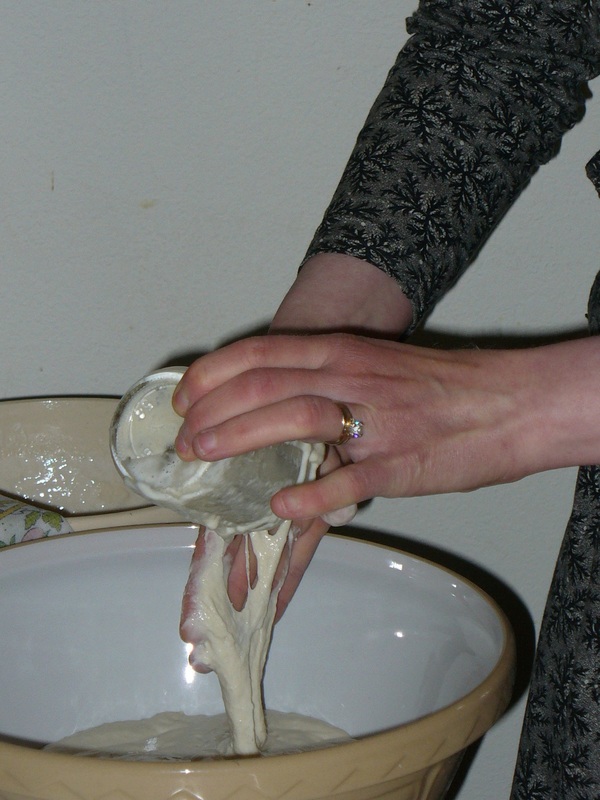
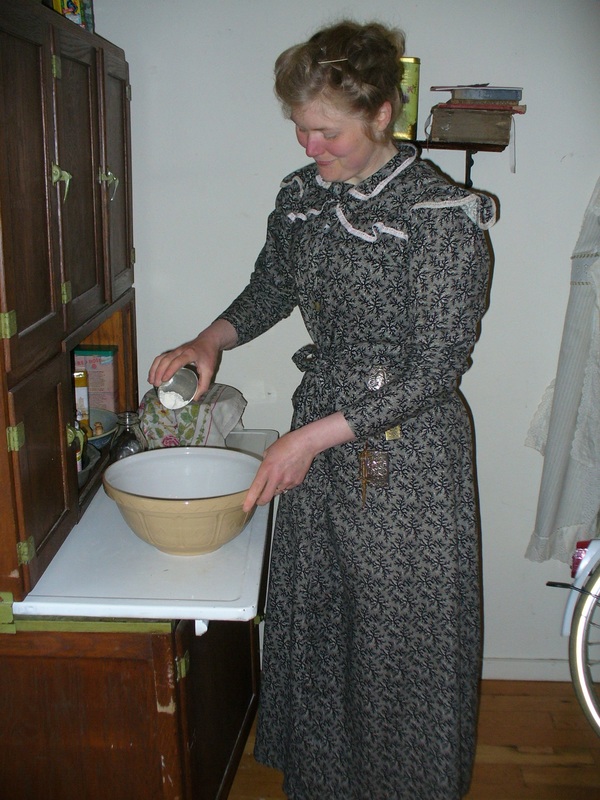
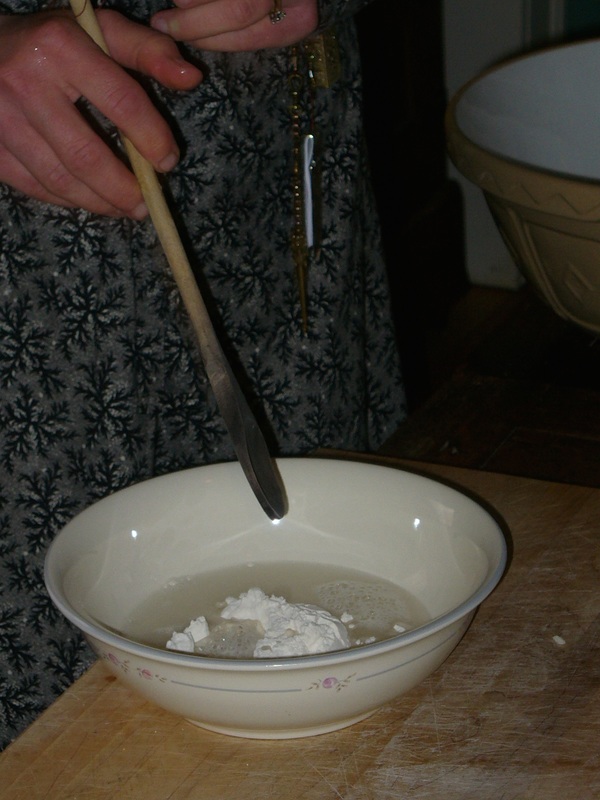
Adding The Beast! I measure it with a half-pint glass jelly jar. It was thick today so this was a 3 cup day for The Beast.
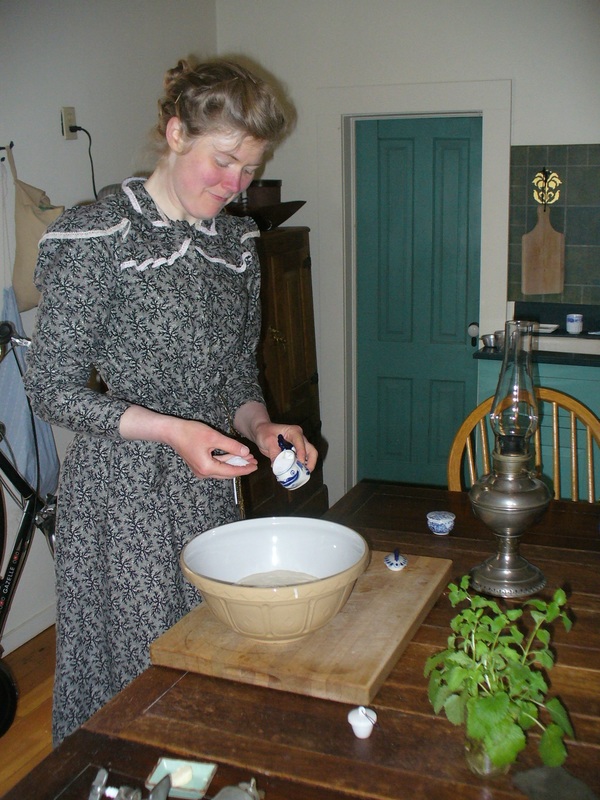
Adding 1 Tablespoon of salt.

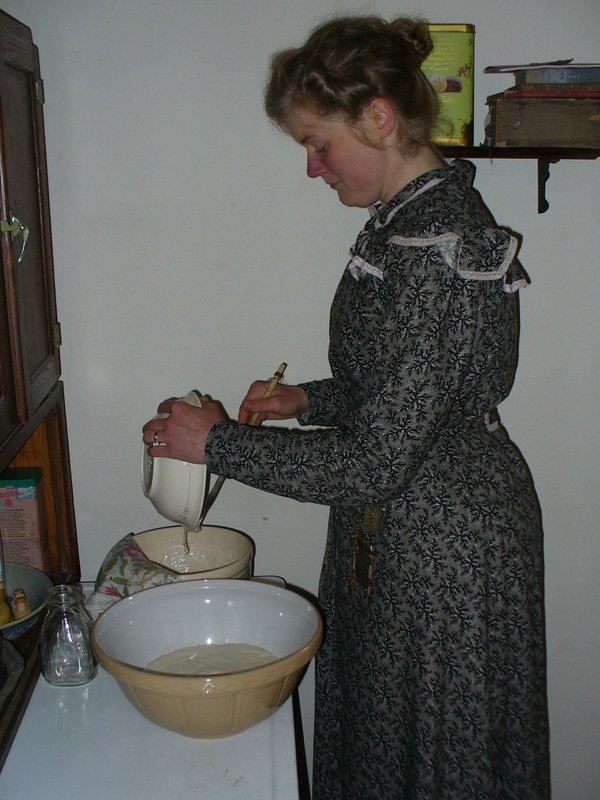
Mixing the dough.
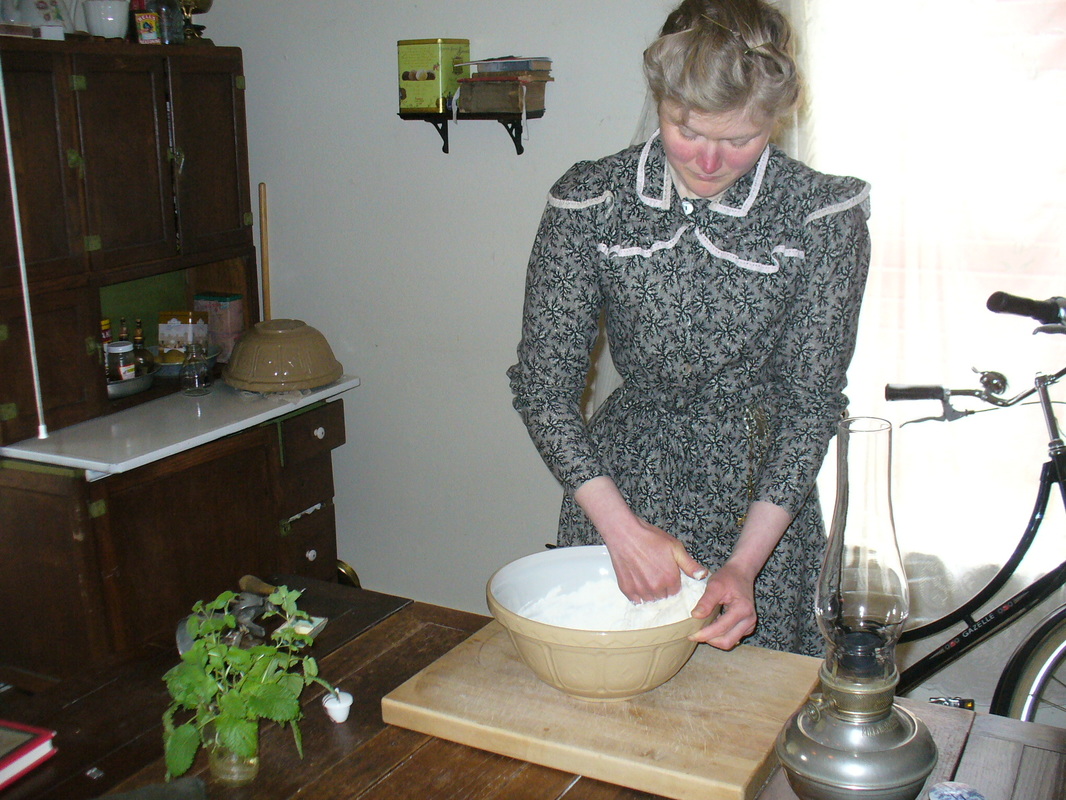
Notice The Beast's home on the left-hand side: The glazed brown pottery bowl is inverted over a damp towel on top of the ceramic bowl which holds The Beast.
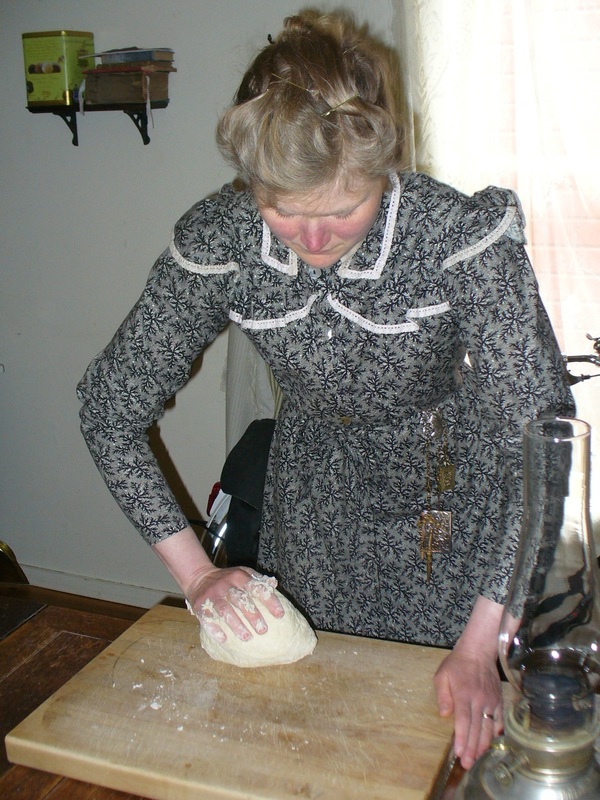 | 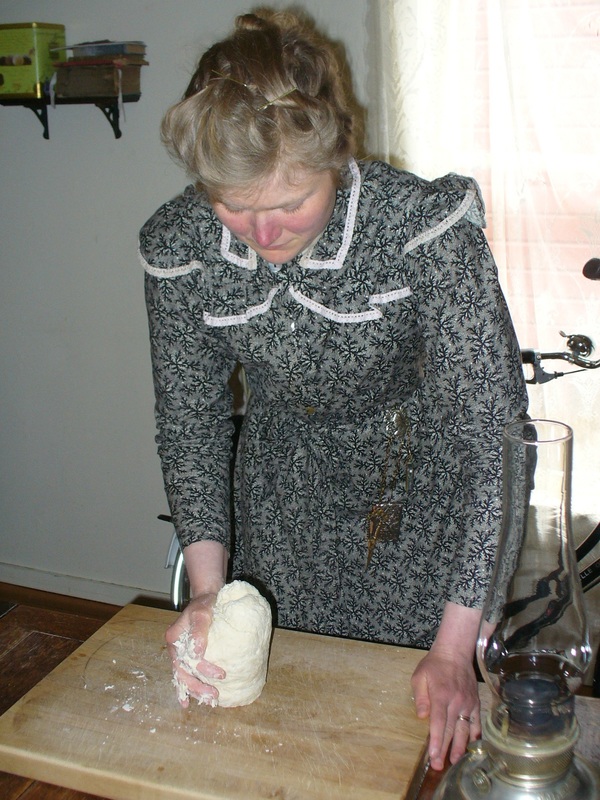 |
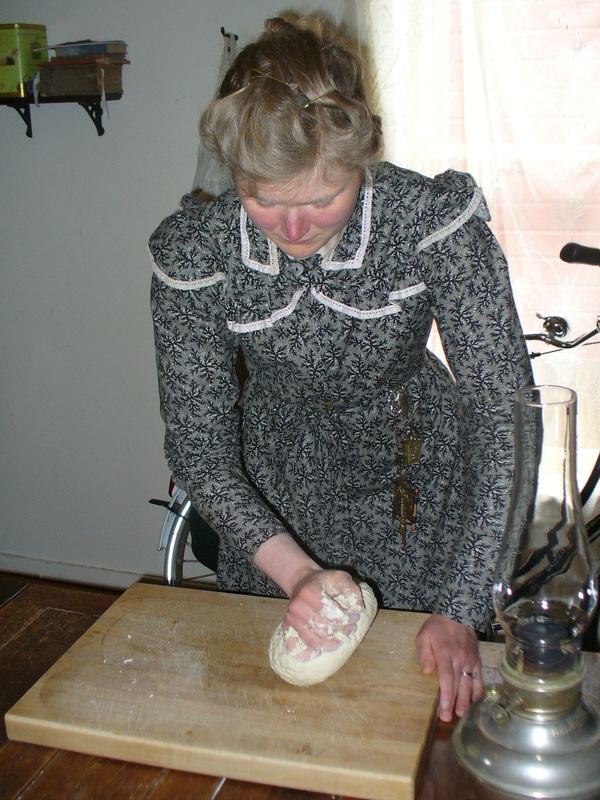
Kneading.
If you've never kneaded bread before, notice the rolling motion and the way the hand sweeps the dough up off the board instead of pressing it flat into the wood. (Most of the pressure comes from the heel and flat of the hand; the fingers come into play when they sweep the dough upwards and keep it from sticking to the board. Don't overthink things: Just practice, practice, practice and you'll get the hang of it.) It takes practice, but ideally when bread dough is mixed in the right proportions and kneaded properly it should "clean" the board by the time you're finished and leave no scraps of flour behind.
If you've never kneaded bread before, notice the rolling motion and the way the hand sweeps the dough up off the board instead of pressing it flat into the wood. (Most of the pressure comes from the heel and flat of the hand; the fingers come into play when they sweep the dough upwards and keep it from sticking to the board. Don't overthink things: Just practice, practice, practice and you'll get the hang of it.) It takes practice, but ideally when bread dough is mixed in the right proportions and kneaded properly it should "clean" the board by the time you're finished and leave no scraps of flour behind.
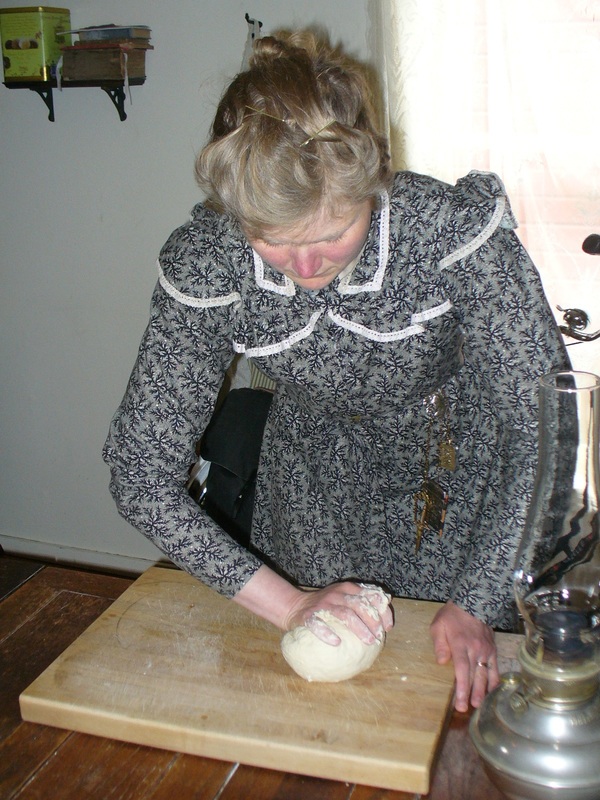 |  |
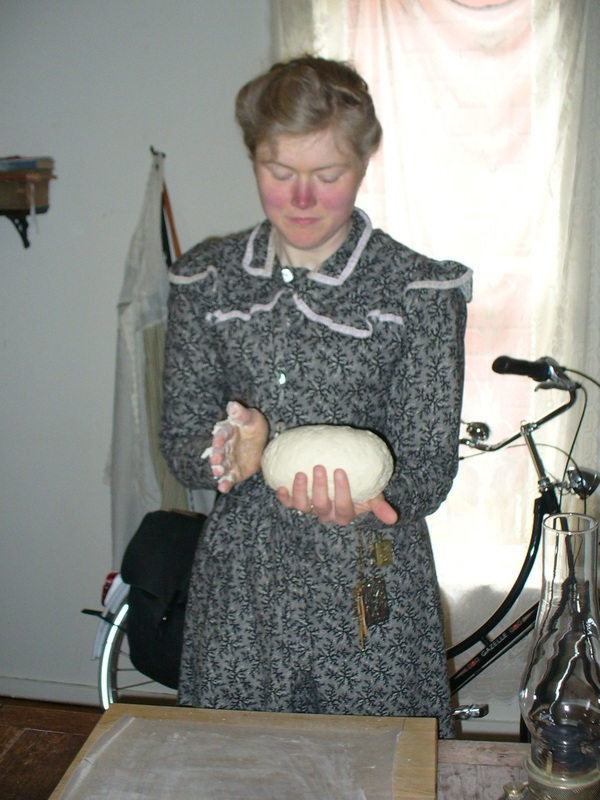
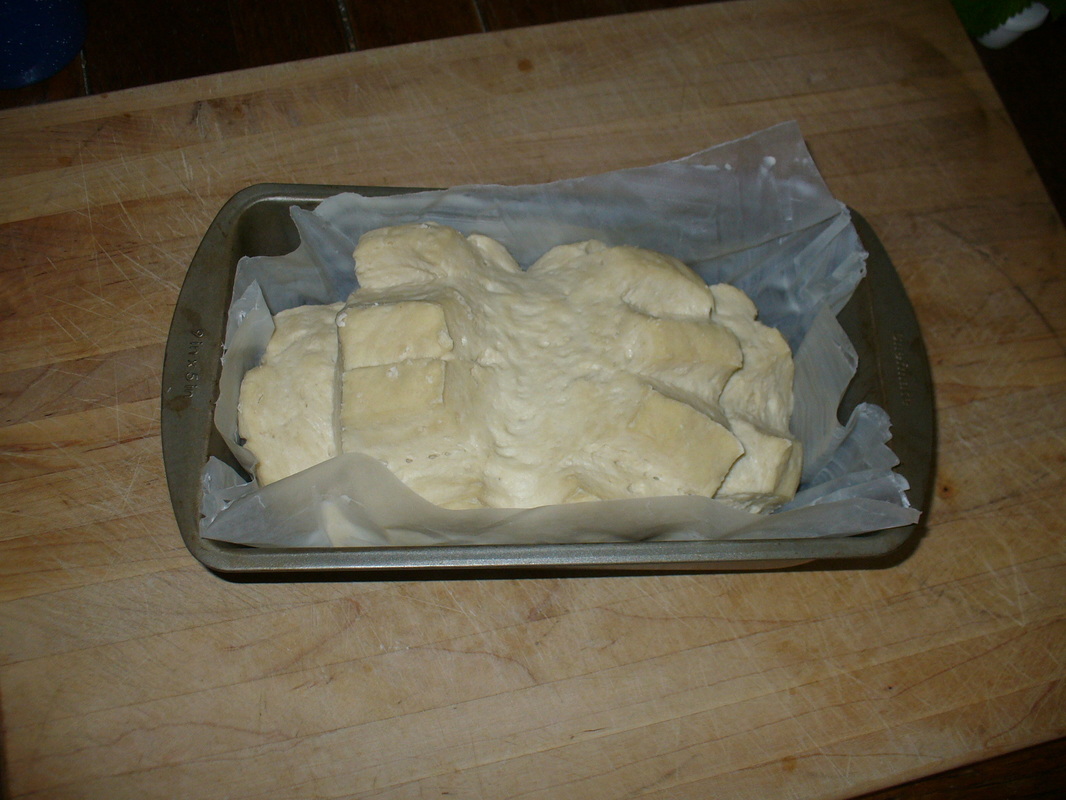
Forming the dough into a loaf.
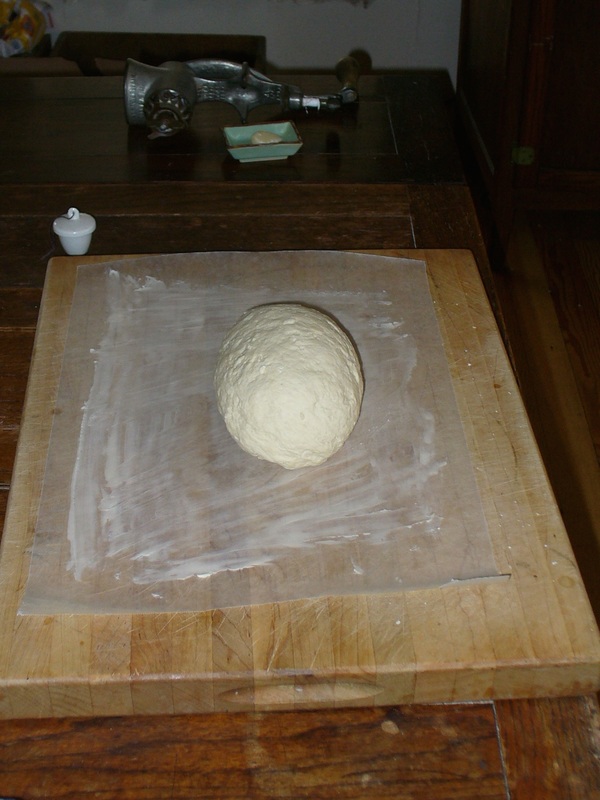
The loaf on a sheet of buttered waxed paper. (If the waxed paper isn't well greased, the loaf will stick to it unmercifully.)
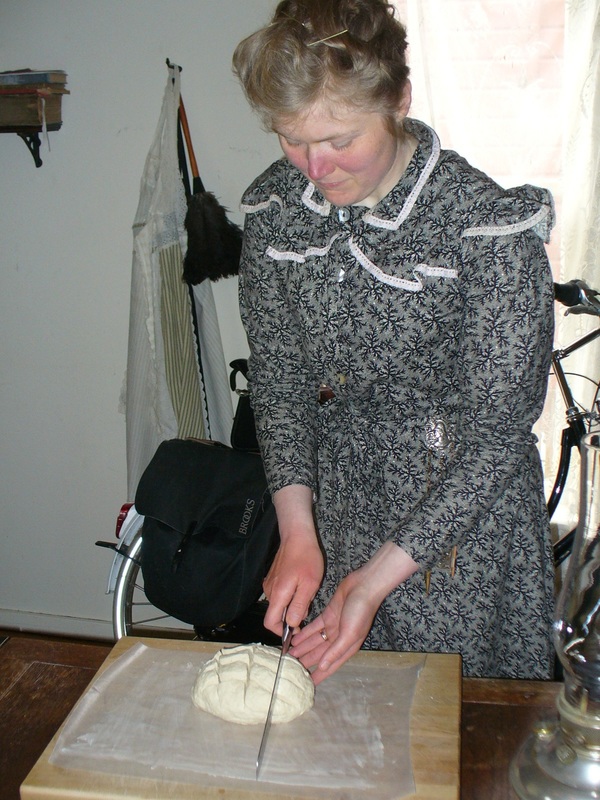
Cutting cross-hatchings into the loaf to break up surface tension as it rises.
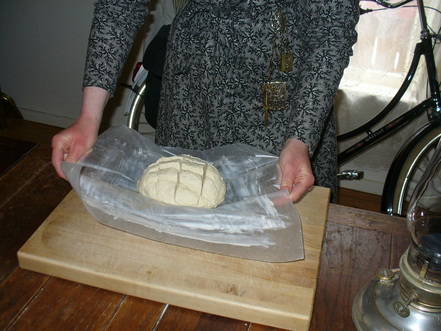
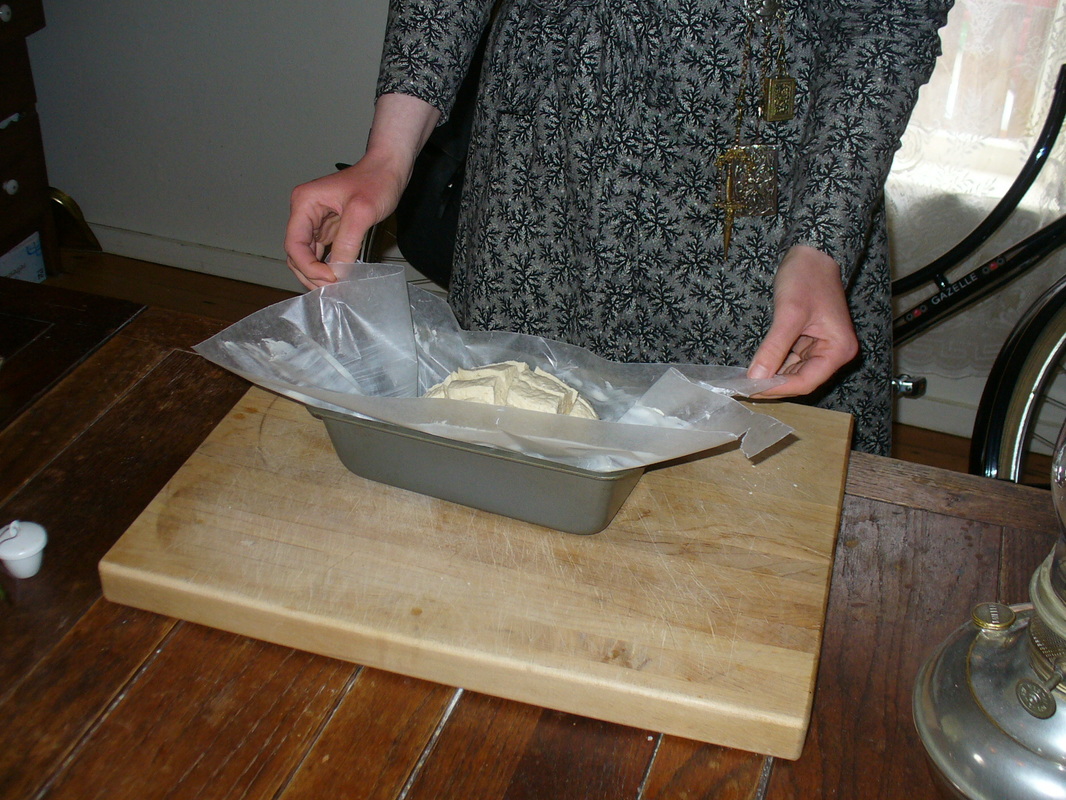
Lowering the loaf (on the waxed paper) into a loaf pan. For a round loaf I use a pie plate.
 |  |  |
Mixing Beast Feed. (1/2 cup bread flour + 1/2 cup water.)
Feeding The Beast.
After trimming the waxed paper.
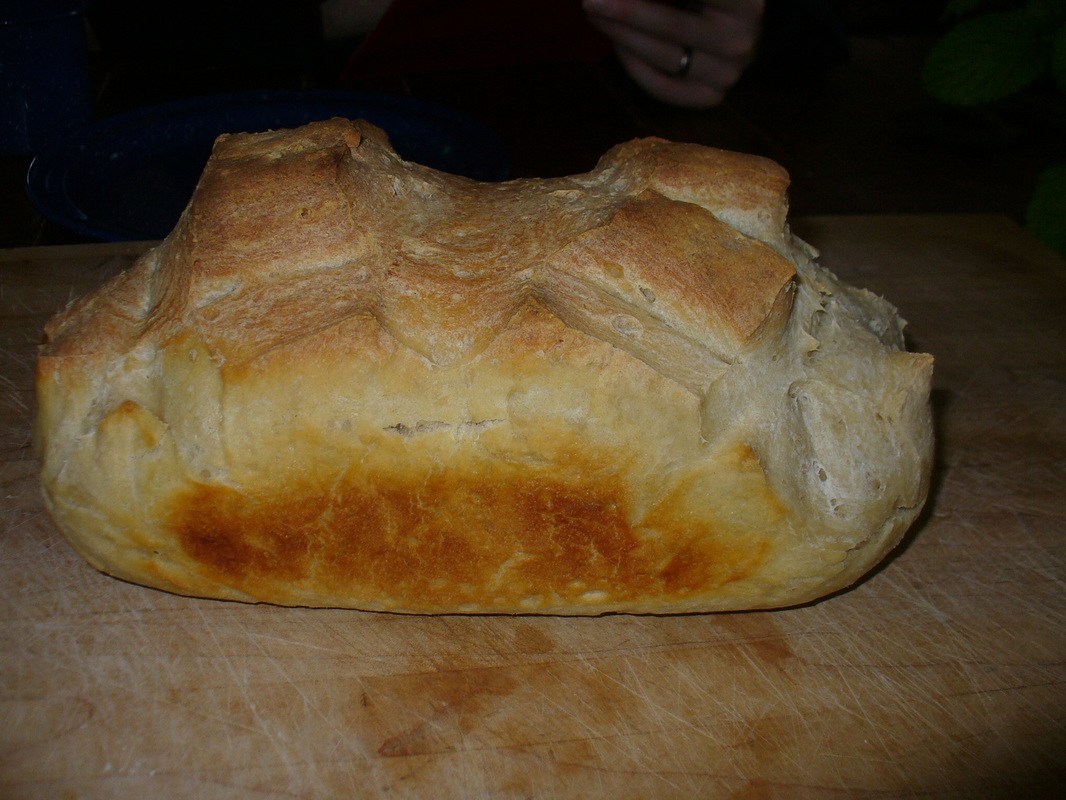
The end result: Tasty bread!
I bake fresh bread for us every 2-3 days, and of course I feed The Beast daily. After writing all this I'm glad I don't try to explain the process every single time: Believe me, it takes far longer to document than to just do it! Thanks to constant practice, now I can get a fresh loaf ready for rising (and feed The Beast, to boot) in less than ten minutes. After that it's just a matter of letting it rise and bake—then eating it!

 RSS Feed