Maintaining this website (which you are enjoying for free!) takes a lot of time and resources.
Please show your support for all our hard work by telling your friends about Sarah's books —and by buying them yourself, too, of course!
In the first book of my Tales of Chetzemoka series, First Wheel in Town, one of the main characters is the town dressmaker! Read a review here: https://www.edinburghbookreview.co.uk/interview-sarah-a-chrisman/
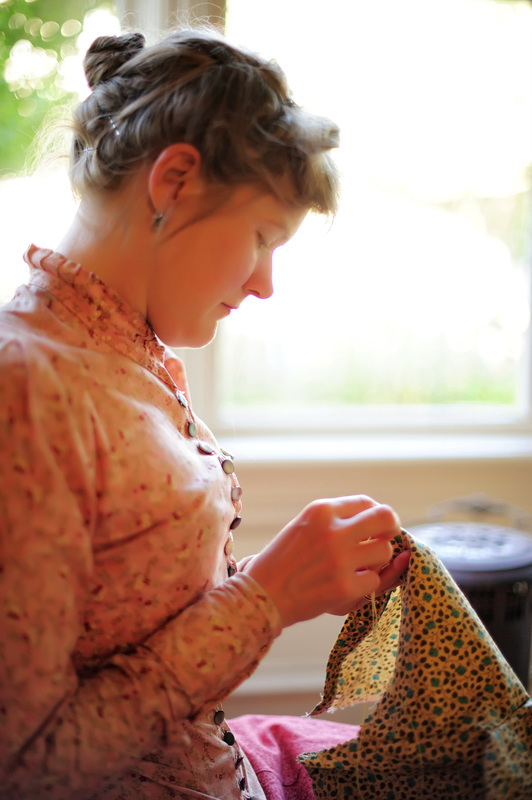
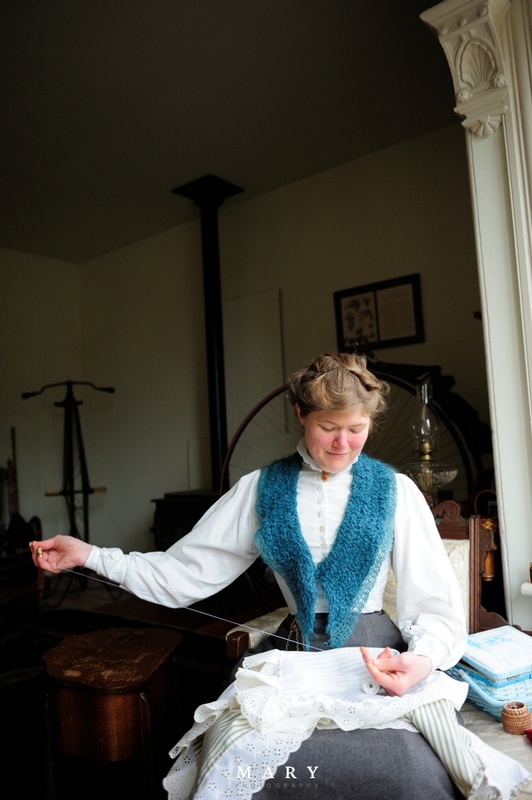
Gabriel and I have been collecting antique clothing for a number of years now. The antique garments are a wonderful primary source for learning how clothing fit and was assembled in the past.
Skirts and petticoats with straight seams are the easiest items to copy. In those cases it is usually a matter of folding the skirt in such a way that only one gore (section of the skirt) is visible at a time, laying this on top of a piece of butcher paper on a flat surface, and tracing it in pencil. Then I add a seam allowance (usually 1/4"), a few extra inches at the bottom for the hem, cut out the pattern, chalk it onto the fabric and sew it together. (The lining is usually a twin to the skirt, in a different fabric.) Almost all Victorian skirts have some type of stiffener sewn into the bottom by the hem; in most of my skirts this is a 4—6 inch strip of heavy canvas. My cycling skirt has a wide strip of leather sewn into the hem (in accordance with a piece of advice I found in an 1897 Godey's)—this keeps it weighted down even better than canvas. My velvet visiting dress has horsehair in the hem, because that's what the original antique version of the dress in my collection uses as stiffener. The hem at the bottom of a skirt is my very last step. After I've sewn in the waistband, I put on the skirt (over whatever petticoats I plan to wear with it) and my husband helps by squatting down on the ground with a ruler. I'm pretty tall; for me, ankle-length means exactly four inches from the ground in my stocking feet. Gabriel goes around the whole circumference of the skirt for me and marks the 4-inch line with a row of straight pins. (We've tried using chalk, but it's a bit of a pain to keep straight and then it's frustrating to wash off. Pins are easier.) Then I hem it up to that mark.
Copying a bodice or shaped garment from our collection is a little trickier. It still involves butcher paper and a flat surface, but in this case it's the flat, soft surface of our parlor carpet. I lay out the bodice on the paper, concentrating on one piece of the bodice at a time. I try to get that piece as flat as I can, then with a very fine silk pin I trace the seam of that piece, poking holes through the seam into the paper beneath. (Having the paper on carpet makes it easier to poke the pin through than if it were on a table.) After I've poked out a tracing of each piece of the bodice, I play connect the dots to get my pattern. Then I cut it out of cheap practice fabric, baste it together, try it on, and see what wants changing. Usually at this point I scowl a lot, grumble to myself, and eat some chocolate. Then I get back to work. After significant fussing with this mockup (sometimes setting it aside for a day or two to let my blood pressure go back down again), I've usually worked out the pattern well enough to cut it out of the fabric I really want to use. After I've done that and sewn it together, I put the bodice on inside out and Gabriel helps me fit it. He pinches and pins each and every seam until the bodice is glove-tight. (Usually he manages to pin my shift to the bodice in the process and we have to re-do certain sections.) Then he carefully helps me take it off and I sew extra-tight seams along the pin lines. I write a note on the paper pattern about how much fabric and yards of trim it took (so that I'll know for next time), then I roll the pattern up and put it away with my ever-growing collection.
These days when I puzzle over a dress or a fashion plate long enough I usually realize, "Hey! This dress X is just the bodice from dress A with the sleeves from dress B and the skirt from dress C! I've worked out those patterns already, so I don't have to start from scratch!" I have a feeling this was a fairly common experience for home dressmakers in the past.
For people interested in sewing their own garments, the following resources might be helpful:
The Weekly Record of Fashion, and Tailor and Cutter's Guide--a magazine from 1882, available free on Google Books (includes diagrams of clothing, along with fashion plates) :
https://books.google.com/books?id=3CEGAAAAQAAJ&pg=PA264&dq=%22The+cutter%27s+guide%22&hl=en&sa=X&ei=RWY6Vb3qG8jooATIsIDABg&ved=0CCUQ6AEwAQ#v=onepage&q=%22The%20cutter's%20guide%22&f=false
Commercial pattern archive—patterns from 1868-2000: http://copa.apps.uri.edu/buy.php
Antique Pattern Library sewing resources: http://www.antiquepatternlibrary.org/html/warm/sewing.htm
Fashion plates: Fashion plates
Photographs of women: Photos of women
Photos of couples and families: Photos of couples and families
Here are some sources for fabric:
D.C. Dalgliesh Ltd.: http://www.dcdalgliesh.co.uk. The last of Scotland's artisan tartan weavers. Ninety percent of small clan tartans are only available from this mill.
The Lining Company: http://www.theliningcompany.co.uk/. Quality linings and trimmings.
ReproductionFabrics.com: http://www.reproductionfabrics.com. Cotton fabric printed with designs from 1775-1950.
William Booth Draper: http://www.wmboothdraper.com. Fabrics (including cotton, silk, wool, linen and hemp), and notions.
If you liked this post, you will probably enjoy https://www.facebook.com/erasofenchantment


 RSS Feed