Remember to check out Sarah's books while you're online!
Buying these books is the best way to show your support for what we do and help us keep doing it!
Light and Heat
(Including some tips on getting the best light from an oil lamp)
We use two different varieties of oil lamps in our Victorian home: flat wick lamps and circular wick (center draft) lamps. Most people who don't use oil lamps on a regular basis don't appreciate how very bright and useful they can be; when properly used and maintained they provide beautiful light. Here are some tips for maximizing the light from oil lamps:
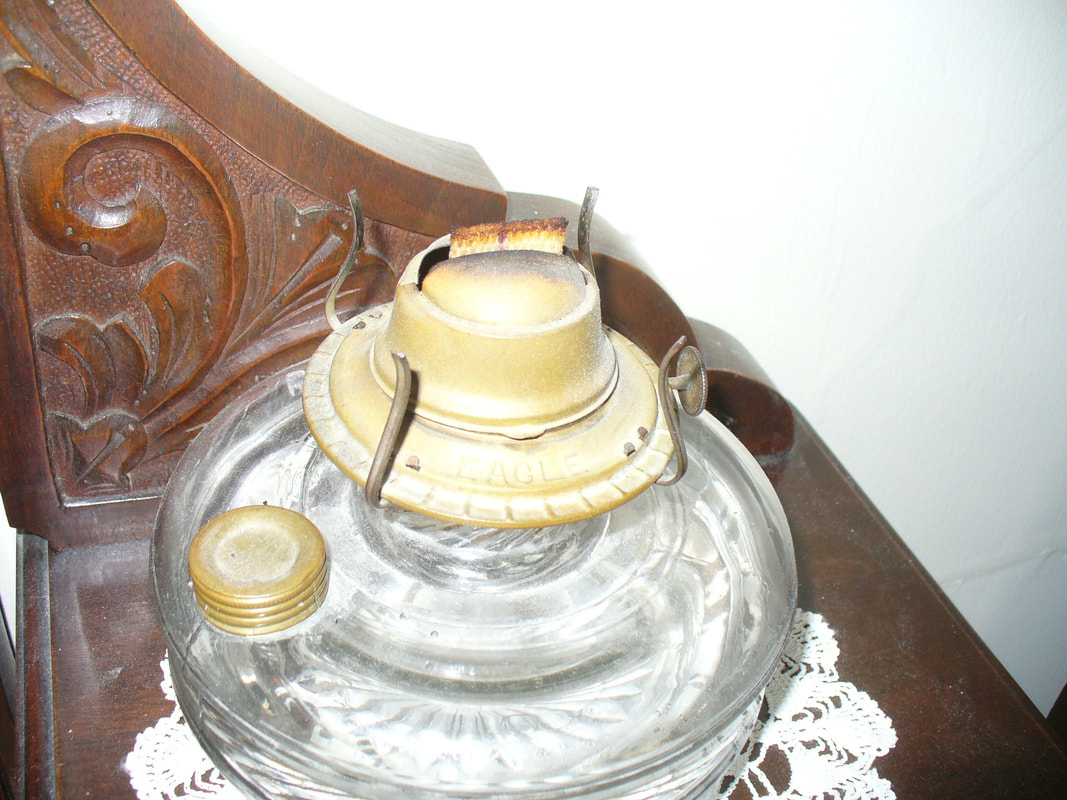
First, flat wick lamps: these are familiar to most people. A flat wick lamp, as the name implies, have flat wicks (available now at most hardware stores).
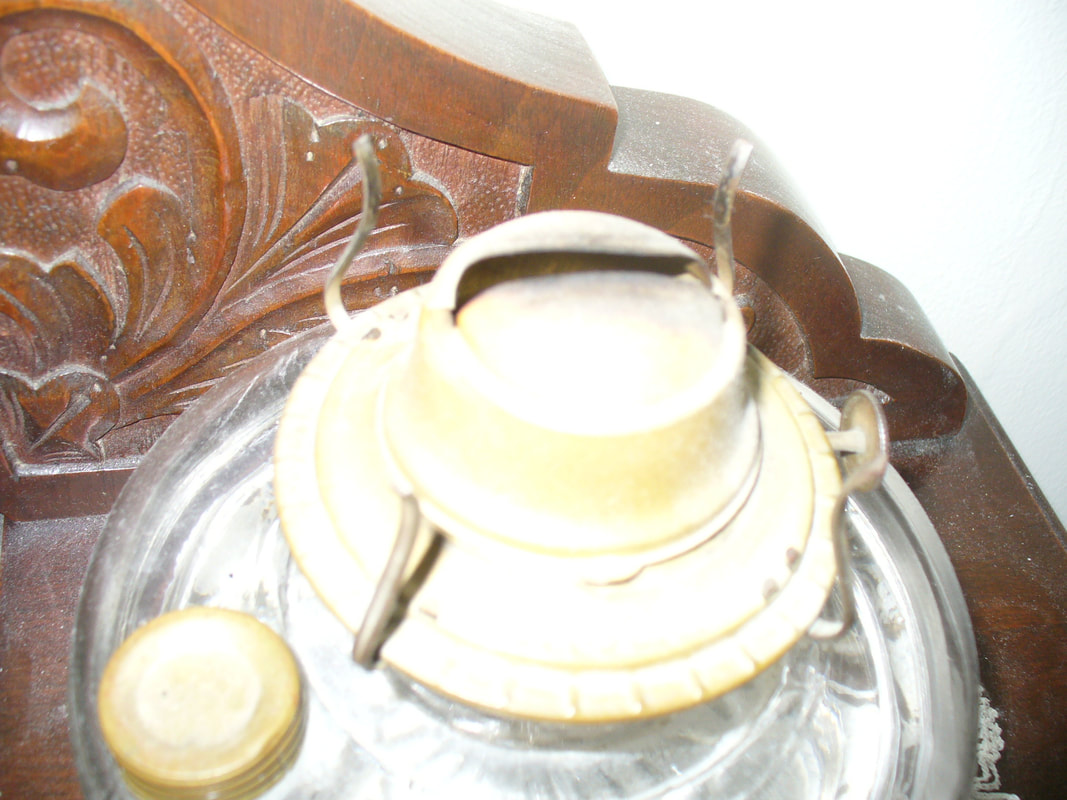
On a flat wick lamp, the flame spreader is built into the burner instead of being a separate piece like it is on a circular wick lamp (more on those later). The flame spreader on a flat wick lamp is the straight-line hole through which the wick pops up:
Flame spreaders are designed to control the flare of the flame.
The order of operations for lighting a flat wick lamp is:
1.) Move the wick up to light it.
2.) Move it down slightly BELOW the top of the flame spreader.
3.) Replace the lamp chimney.
4.) If the room is very cold, turn the wick down a little more and give the chimney a minute or so to warm up so that when you raise the wick the sudden heat won't crack the glass. If the air in the room isn't terribly cold you can skip straight to #5.
5.) Adjust the wick to maximize the light. Experiment with moving it up and down until it gives out maximum light. There's a sort of "sweet spot" where the wick is high enough to get maximum oxygen but not so high that the wick itself is showing above the flame spreader. The top of the wick when it's burning should be just BELOW the flame spreader. If the wick protrudes above the flame spreader (as in nearly every modern photograph and Hollywood production), a couple different problems arise. First and foremost, it will be burning the wick itself: you don't want to burn the wick itself, you want to burn the oil. The wick is just a medium for transporting oil to the flame. The wick itself will not burn as brightly as the oil. (Think about it this way: light is energy, and so are calories. Cotton is a carbohydrate, oil is a fat. Carbs have fewer calories than fat. A cotton wick won't burn as brightly as oil.) When the wick burns, not only is the light dimmer than it should be, but the burning cotton produces soot. Soot clouds up the glass; not only does it actively block the light, but it also builds up chemicals inside the chimney that choke out the flame and contribute to the dimness of an improperly adjusted lamp. Film producers often cover lamp chimneys with black paint to hide the electric bulbs inside the props being used to represent oil lamps; an actual oil lamp with a chimney as filthy as those seen in movies would be unusable. If a lamp is properly adjusted so the wick is in the right place for maximum brightness it won't produce any soot at all, or hardly any.
Maintaining your flat wick lamp:
—If char builds up on the wick, trim it neatly with a pair of sharp scissors.
—If any soot shows on the chimney or when dust builds up on it, wash it as you would a drinking glass.
—If any splashes or specks of matter (as from food being mixed in a kitchen) get onto the outside of the chimney, sometimes they can get baked onto it by the lamp's heat. If they won't come off with simple washing, use a penny to scrape them off. (Splashes baking onto the chimney happens more with circular wick lamps than with round wick lamps because the circular wick lamps produce a much hotter flame.)
—Try to keep the oil reservoir full: a lamp with a full reservoir will burn brighter and steadier than a lamp with a nearly empty reservoir. Be careful never to let the lamp burn dry; after all the oil is consumed the flame will start consuming the wick itself, which is messy, inefficient, and gives terrible light. (See the note above on burning the oil, not the wick.)
—When installing a new wick in any oil-based appliance, wait for the wick to be completely saturated with oil before lighting it. (See the discussion above on burning the oil, not the wick.) This will take anywhere from an hour to overnight, depending on the size of the wick.
—Most important (and most often overlooked): check the air intake holes of the burner regularly. When any dust or lint builds up on them, clean it off with an old toothbrush. Flames need oxygen; the difference between the light given by a lamp with dust on its air intake vents and one that's just been cleaned can be quite dramatic.
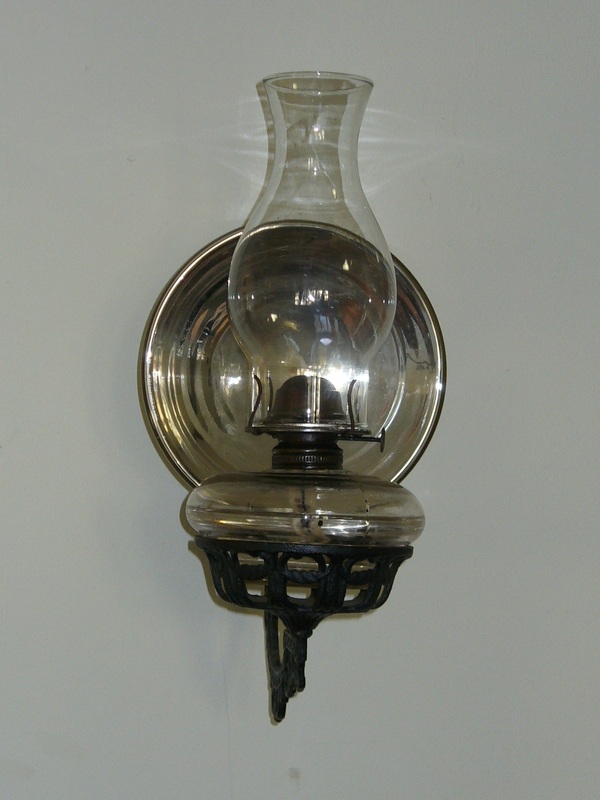
In the nineteenth-century, it was standard practice to put flat wick lamps in sconces fitted with dish-like mercury glass reflectors. This dramatically increased the light, as well as focusing it. We have a mercury glass reflector for the lamp in our parlor.
Above: Flat wick oil lamp
in wall-mounted sconce with mercury glass reflector
in wall-mounted sconce with mercury glass reflector
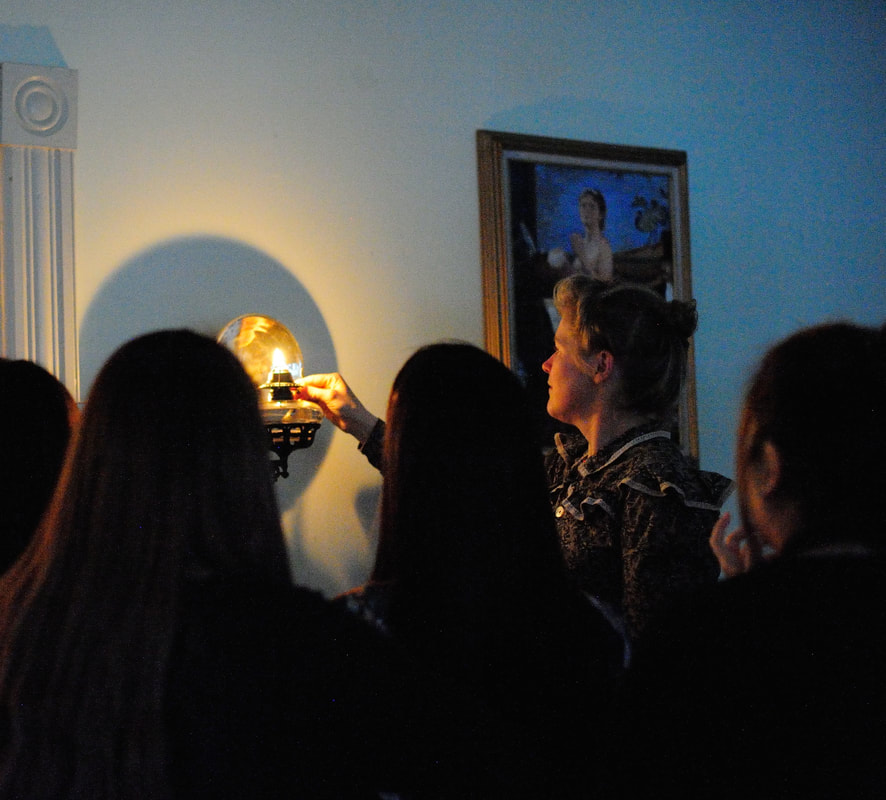
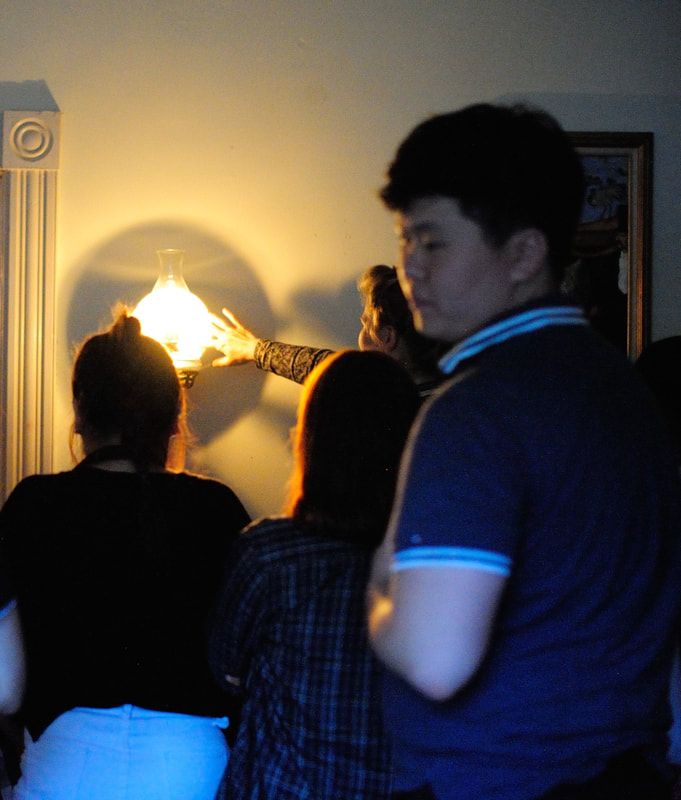
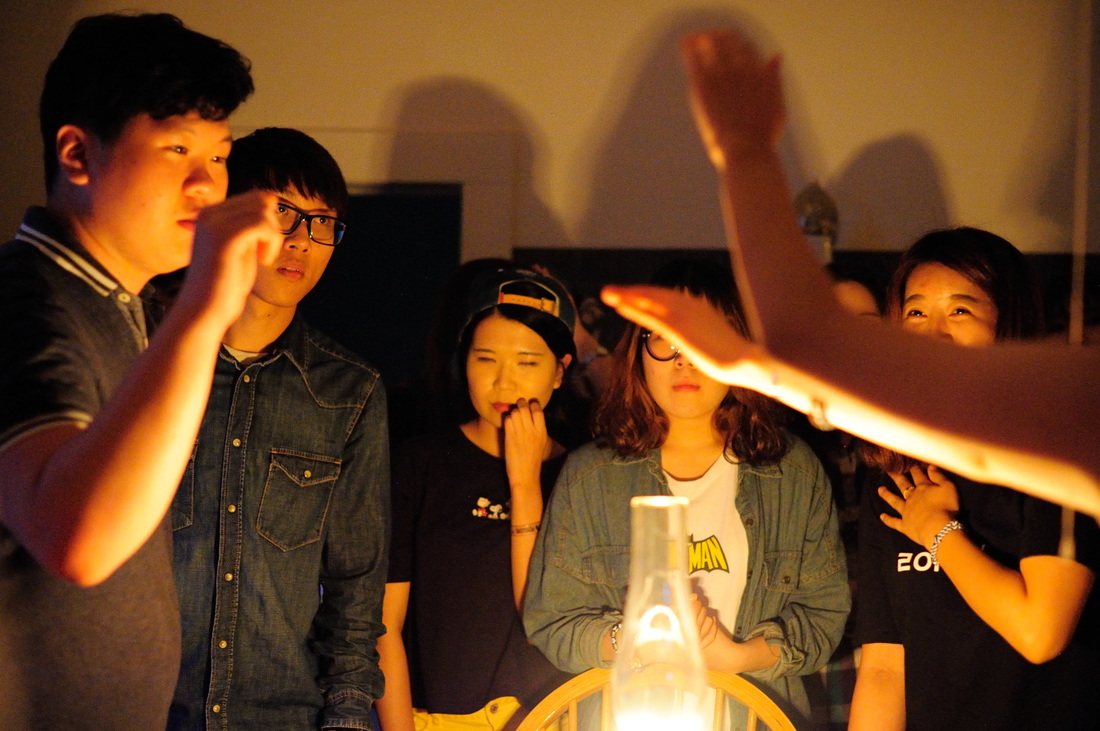
Below: Me lighting this same lamp, watched by a group of students who visited our home. You can see how dramatically the light increases after I replace the chimney on the lamp; waiting to adjust the wick until after the chimney has been replaced helps ensure that it has been raised to the proper level.
You can achieve a similar effect to the mercury glass reflector magnification by putting your lamps in front of mirrors —this is why so much Victorian furniture had so many mirrors on it. Just be careful not to put it so close that the heat from the lamp warps the silver on the mirror —mirrors aren't quite as heat-proof as the old mercury glass reflectors. (The curve of the old reflectors increased the magnification of the light even more than a flat mirror does, but mirrors of all sorts help in a pinch!)
Note that this extremely bright light is produced by a single lamp and a flat wick one at that! Circular wick lamps are brighter by orders of magnitude.
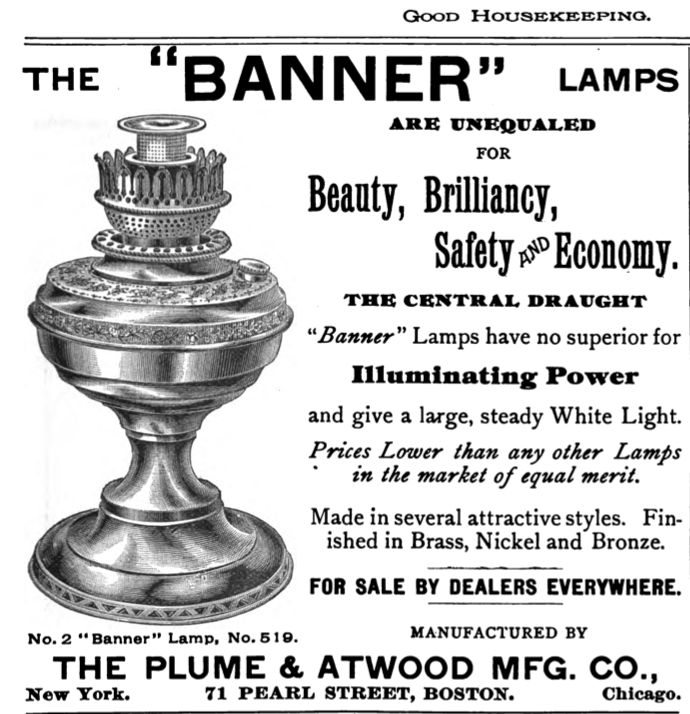
Circular wick lamps came onto the scene in the 1880's and were ubiquitous by the late 1890's.
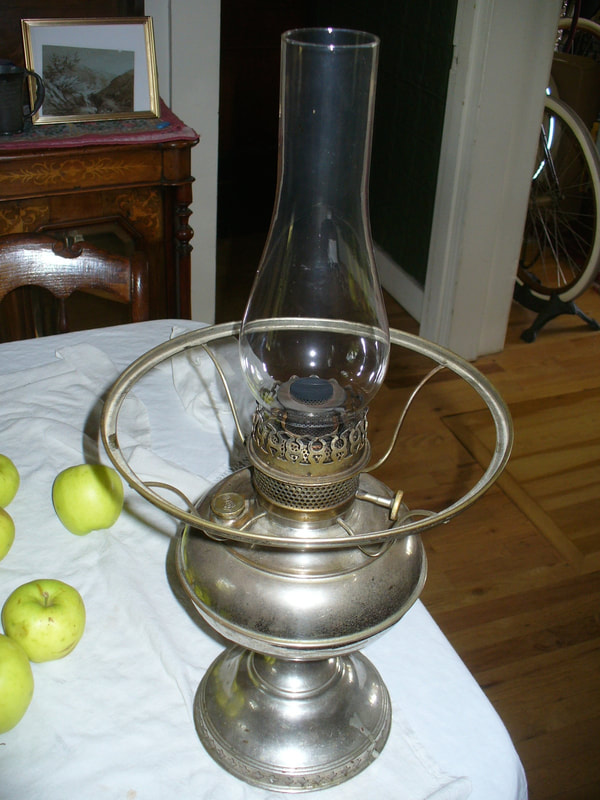
Again as the name implies, circular wick lamps have a wick that forms a circle. This does two very important things to increase the light they produce: it makes the wick much larger (compare the circumference of a circle to a straight line), and it creates the perfect situation to deliver maximum oxygen to the flame. Air comes in through vents at the sides of the lamp then rushes up the center, drawn by the heat of the flame as soon as it gets going. The circular wick lamps were a massive innovation and improvement over the old flat wick lamps, which is led to them becoming very popular very quickly —they were everywhere by the turn of the 20th-century.
Advertisement for a circular wick lamp from Good Housekeeping, December 6, 1890.
The reason we don't see circular wick lamps much any more is that the round wick is significantly harder to produce than a flat one: this makes them correspondingly more expensive. After electric lighting became standard people no longer prioritized the brightness of oil lamps because they were no longer using them for everyday activities. Given a choice between a cheap option to have around for emergencies and ambience, versus an expensive option they would hardly ever use, most people choose the cheap option. For this reason, demand for round wicks decreased after 1930; when it became harder to find the wicks people got rid of the lamps, and it became a self-feeding cycle that led to the virtual disappearance of circular wick lamps. Add to this the fact that circular wick lamps are made of metal —even the really fancy ones that have pretty glass or ceramic exteriors still have a metal reservoir, for practical reasons involving physics and chemistry. During WWII, there was a huge push to round up every last scrap of metal that wasn't currently in use and contribute it to the war effort. Thus, whatever circular wick lamps people happened to still have in their attics or garages were prime targets for the metal drives. Flat wick lamps were more likely to have reservoirs made out of glass, which is less useful for making into airplanes for fighting Nazis. This sort of thing is what historians call survival bias.
|
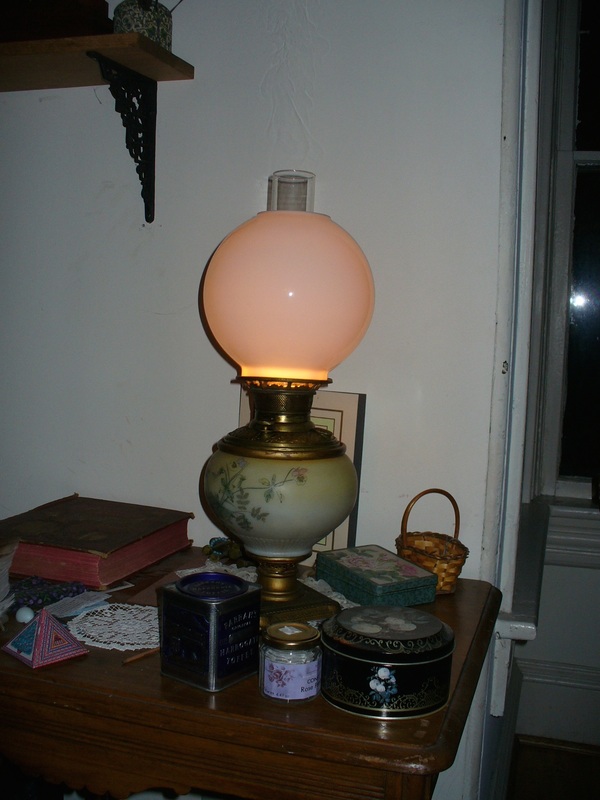
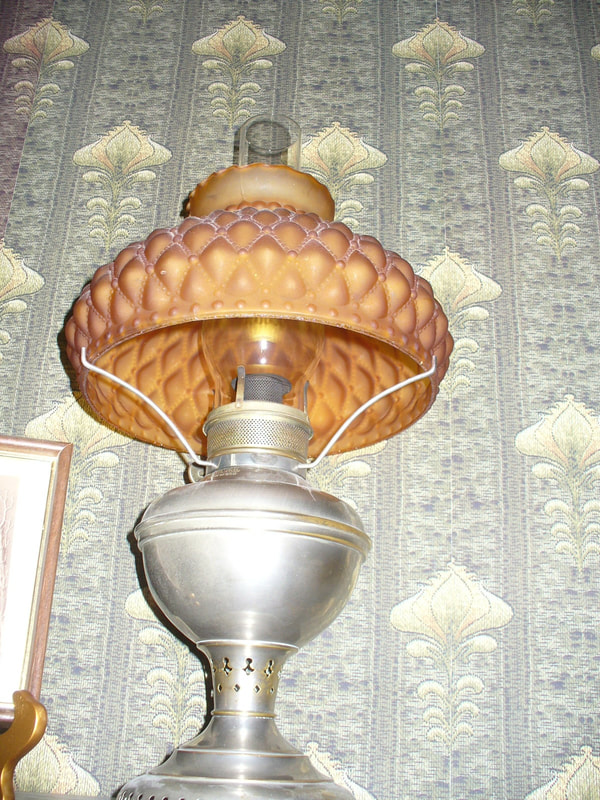
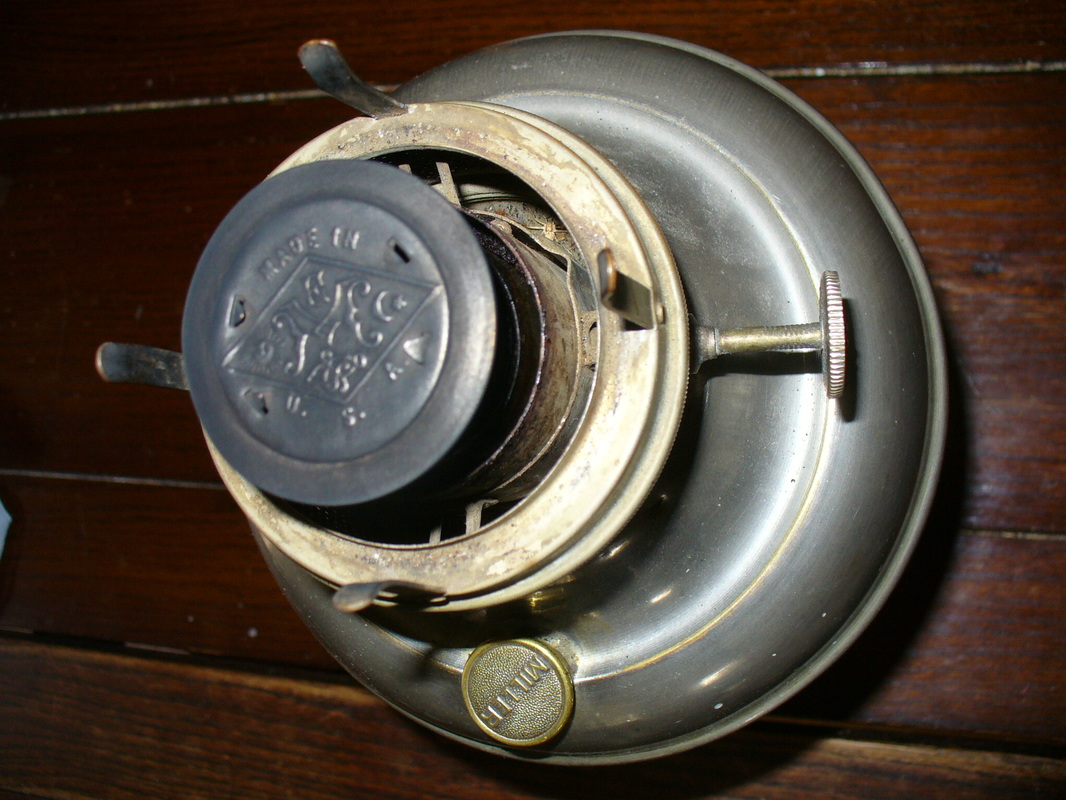
1897 Miller lamp in my writing den. Besides the disposable wick, the only non-metallic parts in this one are the chimney and the shade.
|
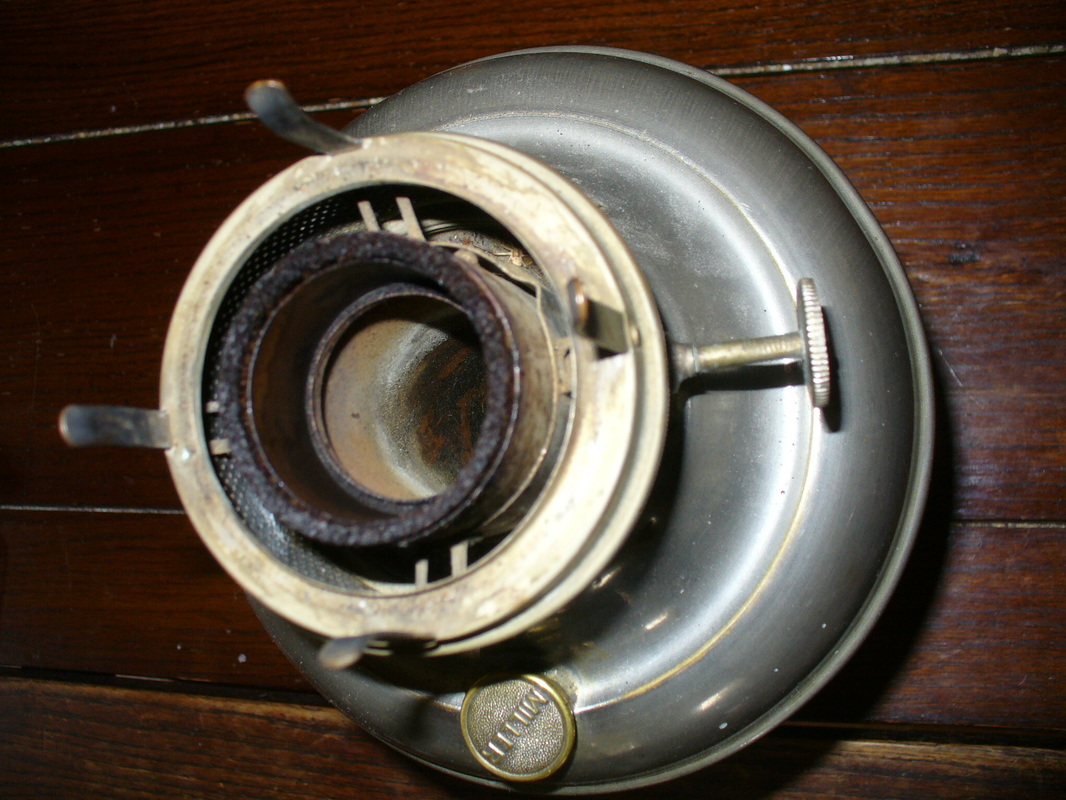
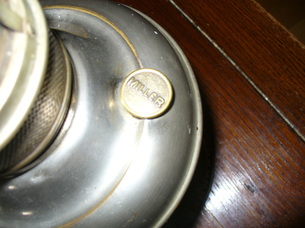
Whereas the flame spreader of a flat wick lamp is built into the burner, the flame spreader on a circular wick lamp is a separate piece which is removed when the lamp is cleaned. When I fill our circular wick lamps, in addition to wiping char off the wicks I also wipe soot off the flame spreaders and make sure the air vents are clear of dust. The picture above shows our 1897 Miller lamp without its flame spreader (to show the circular wick) and the picture below shows the same lamp with the flame spreader in place.
The flame spreader flares out the flame and makes it even brighter than it already is. Different lamp companies had all sorts of engineering battles and competing patents to produce the best flame spreader / burner combination. Picture them as analogous to the fights between modern cell phone companies over marketable aspects of their products.
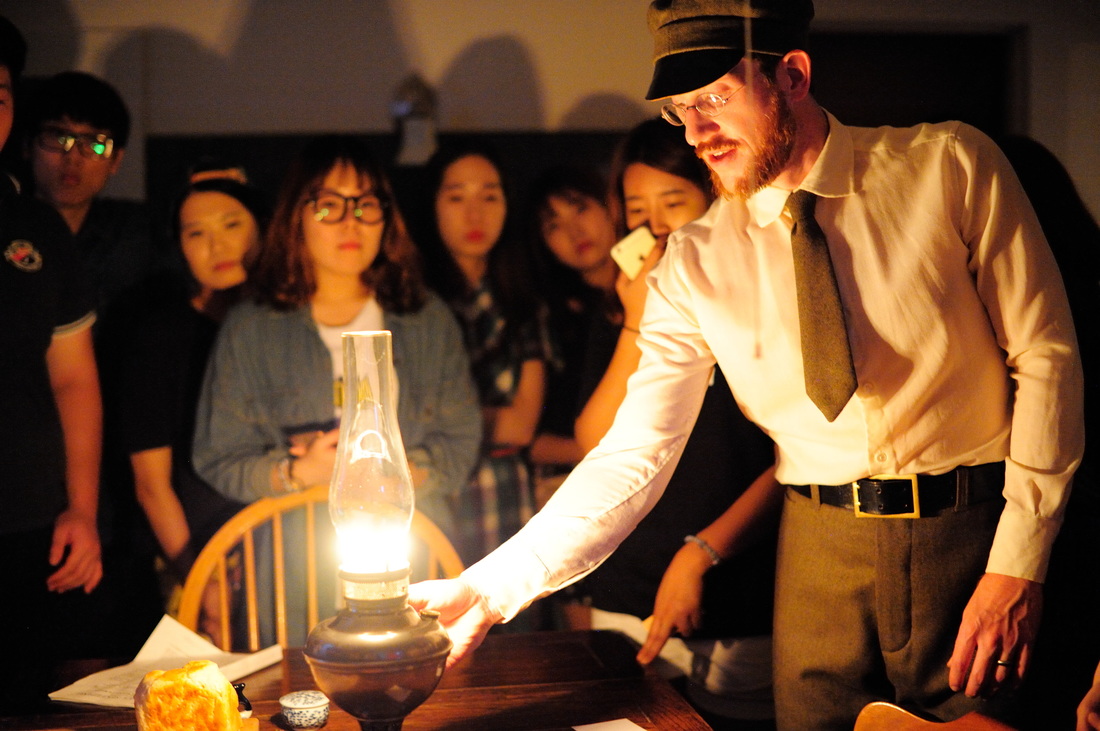
The students who toured our home were quite surprised by how bright our Miller lamp is —and how much warmth it produces!
The students who toured our home were quite surprised by how bright our Miller lamp is —and how much warmth it produces!
Students feeling the warm draft above the Miller lamp.
For more information on the history of circular wick lamps, please visit: http://www.milesstair.com/B_&_H_lamps.html Replacement wicks for antique lamps can be purchased on this excellent site.
Round wick lamps are still produced in very small quantities, mostly for the Amish community and people who live "off the grid" for various reasons. In the U.S. the primary manufacturer is the Aladdin company. You can get their lamps through http://www.aladdin-us.com.
To find out more about what it's like to use these lights, please read
Wintertime Reflections On Light
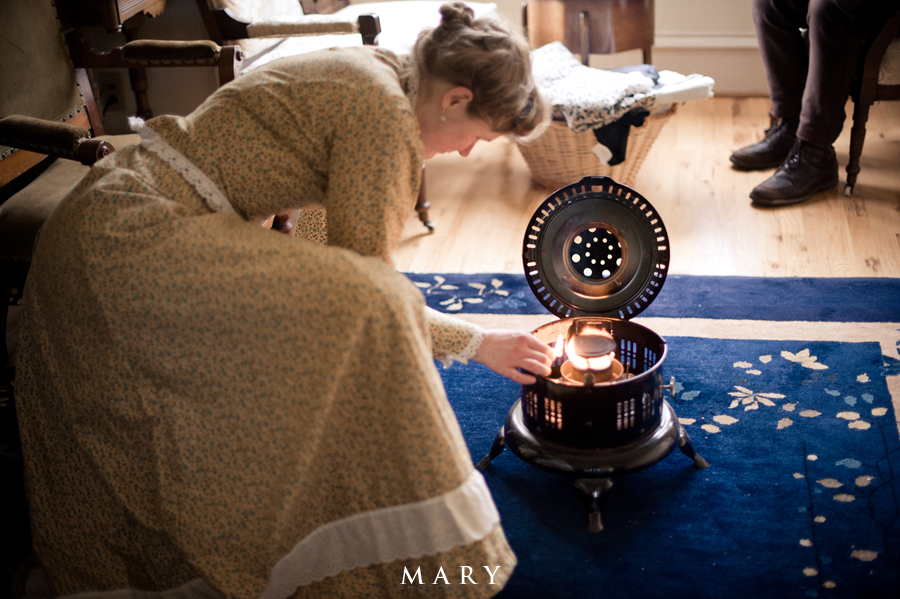
You can watch me light a circular wick lamp and our Perfection circular wick kerosene heater in this video tour of my writing den:
***
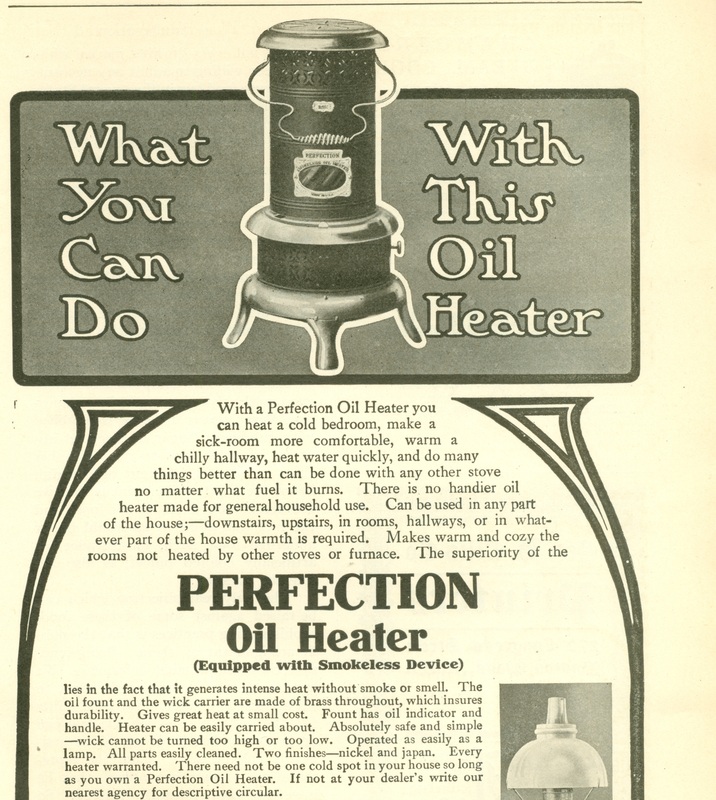
Perfection heater
The burner on our late 19th-century Perfection heater uses the same circular wick technology found on the center draft lamps, just on a larger scale.
Besides its wonderful practicality as a heater, in a pinch the Perfection heater can double as a stove. An old Canadian cookbook reported that such stoves are "very useful, especially in summer... It is as safe as any stove if properly cared for, but must be kept clean. Directions are given with each stove.... There are many types of kerosene stoves and many sizes, and this should be remembered when one is purchasing."
—Pure Gold Manufacturing Company Limited. Blue Ribbon and Pure Gold Cook Book, Seventeenth Edition (no date), p. 144.
Further information about the Perfection heater: http://www.milesstair.com/Perfection_History.htm
—Pure Gold Manufacturing Company Limited. Blue Ribbon and Pure Gold Cook Book, Seventeenth Edition (no date), p. 144.
Further information about the Perfection heater: http://www.milesstair.com/Perfection_History.htm
***
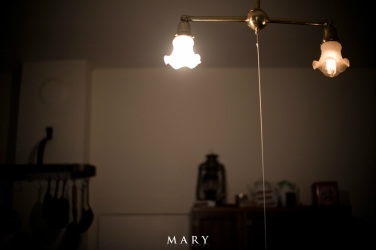 Image courtesy Estar Hyo-Gyung Choi, Mary Studio.
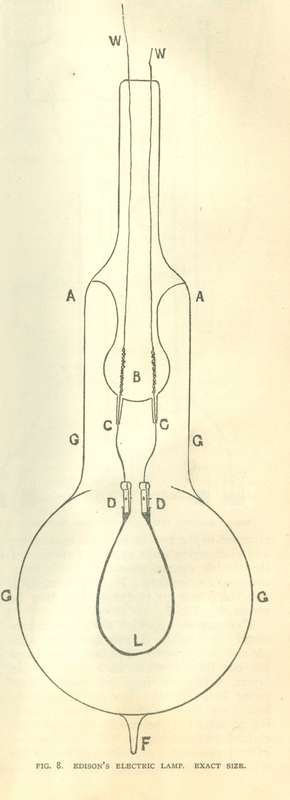
Period light bulbs
The light bulbs in our home are all replicas of early light bulb patents, made of hand-blown glass. (The photo contrasts the light produced by a modern bulb—on the left—with a light bulb based on a nineteenth century patent—on the right.)
We have a few which are replicas of Thomas Edison's patents, but we prefer those invented by Nikola Tesla. For more on Tesla and his works, see The Inventions, Researches and Writings of Nikola Tesla, and Experiments with Alternate Currents of High Potential and High Frequency: A lecture delivered before the Institution of Electrical Engineers, London. To read a hilariously flippant (yet historically accurate) comic contrasting Nikola Tesla and Alva Edison, visit:
http://theoatmeal.com/comics/tesla
We typically use oil lamps and candles when we are home by ourselves, and save the electric lights when we have company visiting. This practice was very common in the early days of electricity, and it helps make the bulbs last a very, very long time. In four years, we have only had to replace three bulbs.
Sources for period-style light bulbs include:
http://www.houseofantiquehardware.com/edison-light-bulbs
http://www.restorationhardware.com/catalog/category/products.jsp?categoryId=cat550006
http://www.rejuvenation.com/catalog/categories/lighting/bulbs/reproduction-bulbs
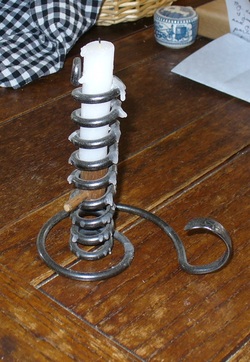
Courting candlestick (replica)
The style of this candleholder dates back to 18th-century Colonial days. A courting couple's time to socialize would be measured by the time it took a candle to burn down to the holder: the mobility of the wooden platform upon which the candle rests allowed a chaperone to adjust the time allowed according to how suitable they felt the potential suitor to be.
The style of this candleholder dates back to 18th-century Colonial days. A courting couple's time to socialize would be measured by the time it took a candle to burn down to the holder: the mobility of the wooden platform upon which the candle rests allowed a chaperone to adjust the time allowed according to how suitable they felt the potential suitor to be.
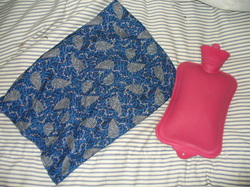
Hot water bottle with cover
(Cover shown at left made with fabric from www.reproductionfabrics.com)
Hot water bottles (generally made of natural rubber) are wonderful little packets of warmth on cold days.
To properly use a hot water bottle:
-Fill with hot water to warm the bottle. (The water should be at the high end of your tolerance level, but not so hot as to burn you.)
-Empty out the water, and re-fill with equally hot water. (The first fill was to warm the bottle - it does this very effectively, but the water loses a significant amount of heat in the process. The water from the second fill should keep the bottle warm all night.)
-Cover with a pillow case or hot water bottle cover, so that you will have snuggly cloth next to your skin instead of rubber.
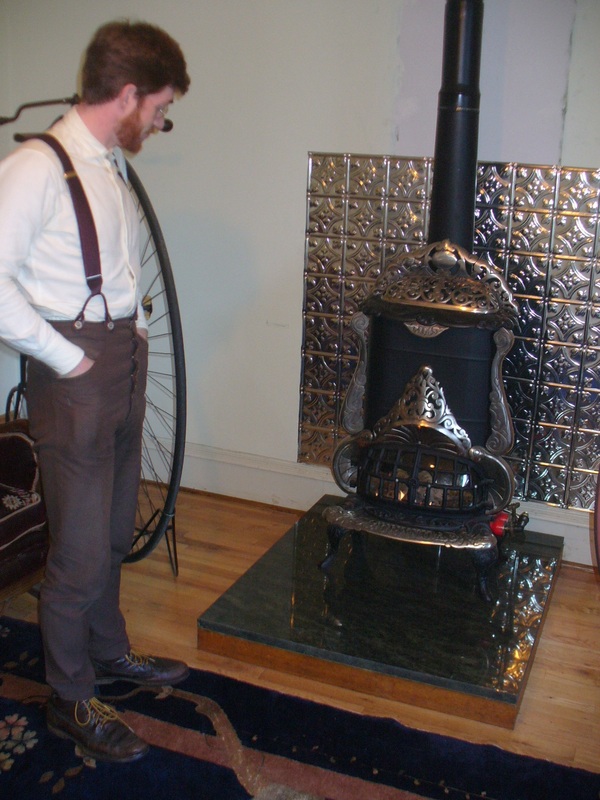
Gas parlor heater, circa 1890's.
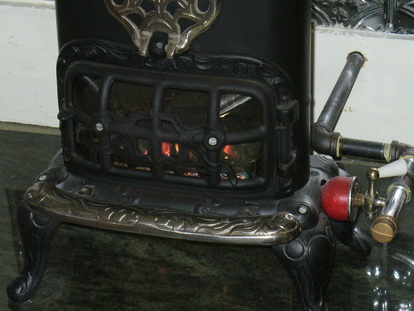
This Grand model #114 was made by the Cleveland Cooperative Stove Company in the 1890's. It originally burned coal gas, but has been converted to burn propane. Unlike many modern propane stoves which use ceramic faux logs as flame spreaders, our lovely stove uses faux coals made from volcanic rock. The stove itself is composed of both cast iron and steel components and is manually lit with a match.
The windows in both our parlor heater and our bedroom heater (below) are made of thin sheets of mica, a clear stone. Mica was favored over glass for use in heaters because mica is less easily damaged by heat.
In 1887, the following interesting editorial was published in Good Housekeeping, relating to replacement of mica in stoves:
"In GOOD HOUSEKEEPING of April 16th appears an article on "Stoves" by Jennie Cowley Spruce, in which she says: "Many persons are not aware that mica can be purchased more economically by the sheet, and the small pieces or faces cut out with ordinary shears at home." In answer to this I would like to give a few prices. Mica 2 1/2 x 3 inches is listed at 75 cents per pound, 2 1/2 x 6 at $5.40, 3x3 at $1.88, 3x5 at $10.25, 3 1/2 x 6 at $12 and 6x8 at $13.40. The discount is the same for all sizes and varies each year according to the amount on the market, a fair discount to a dealer being from 50 to 60 per cent off. If Jennie Cowley Spruce will compare the above prices she will see that a sheet of mica is not cheaper than a number of small pieces. When mica is taken out of a mine it is split off the side of a ledge and comes off in an irregular shaped piece, when split some pieces go across the block but the majority are quite small. The largest piece I ever saw was about 8x10 inches and the largest block was 5 inches thick and when split the pieces varied from 1 x 1/2 to 6x7.
—Nellie Willey"
Good Housekeeping, May 27, 1887, pp. 50-51.
Here is a link to a piece from 1888 on how mica was quarried and shaped: "Dressing the Rough Mica."
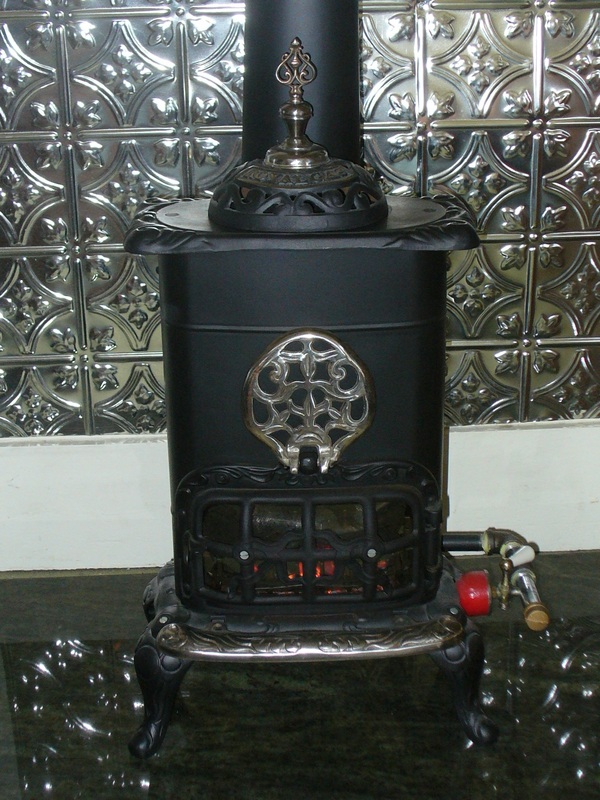
Gas miniature heater, circa 1890's.
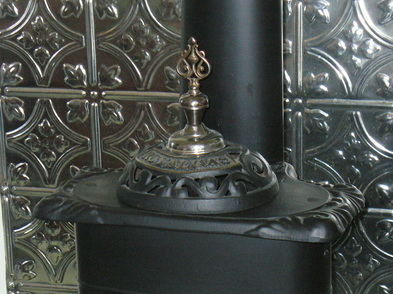
The tiny gas heater in our bedroom was likewise made by the Cleveland Cooperative Stove Company. It was originally a salesman's sample, which would be brought around to potential buyers to show off the quality of the company's wares.
The tiny gas heater in our bedroom was likewise made by the Cleveland Cooperative Stove Company. It was originally a salesman's sample, which would be brought around to potential buyers to show off the quality of the company's wares.
The flame spreaders are faux coals made in England for this type of heater.
The finial at the top is removable so that a kettle may be warmed over the heater.
***
***
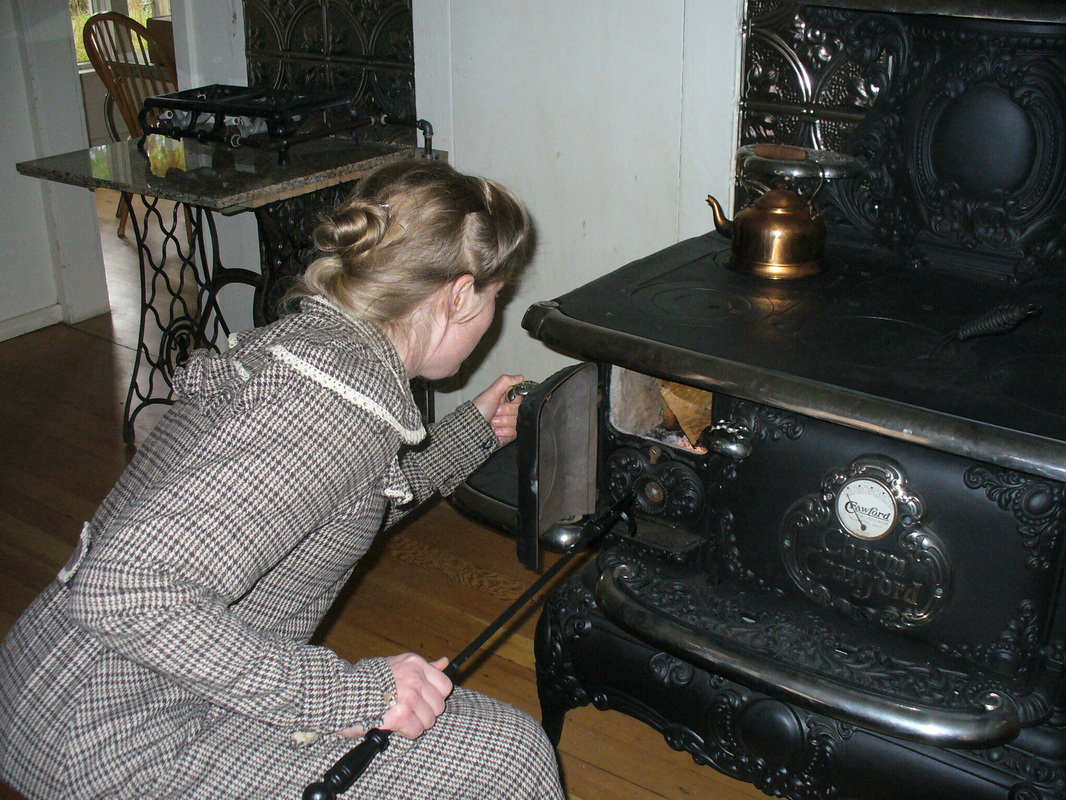
Charm Crawford Kitchen Stove
http://www.thisvictorianlife.com/the-charm-crawford-kitchen-stove.html
***
Other items related to our everyday lives:
Beauty / Grooming / Washing
Cooking / Mealtimes
Home - our Victorian house and its rooms
-Bedroom
-Kitchen / Dining room
-Parlor
-Sarah's writing den / "Tillie's room"
Light and Heat
Sewing
Sports & Leisure
Writing
Port Townsend, WA
In a seaport town in the late 19th-century Pacific Northwest, a group of friends find themselves drawn together —by chance, by love, and by the marvelous changes their world is undergoing. In the process, they learn that the family we choose can be just as important as the ones we're born into. Join their adventures in
The Tales of Chetzemoka
A Trip and a Tumble:
A Victorian Cycling Club Story
Buy the Book
Learn More
For Tales of Chetzemoka merchandise,
click here!
*****
A Bouquet of Victorian Roses
Victorian Secrets
|
True Ladies
|
This Victorian Life
|
***
For words of wit and advice sage,
I hope you'll like my author page!
History lessons, folks who dare,
Please do share it while you're there!
YouTube.com/@Victorianlady
Thank you!
Search this website:
***
