Recipe for Reading: How to make a hand-bound book
We always prefer actual 19th-century artifacts for study, since digitization or other reproduction techniques often leave out details such as advertising, color inserts and patterns (which are often cut out and separated from the texts), or even incidental features with something to tell about the item.
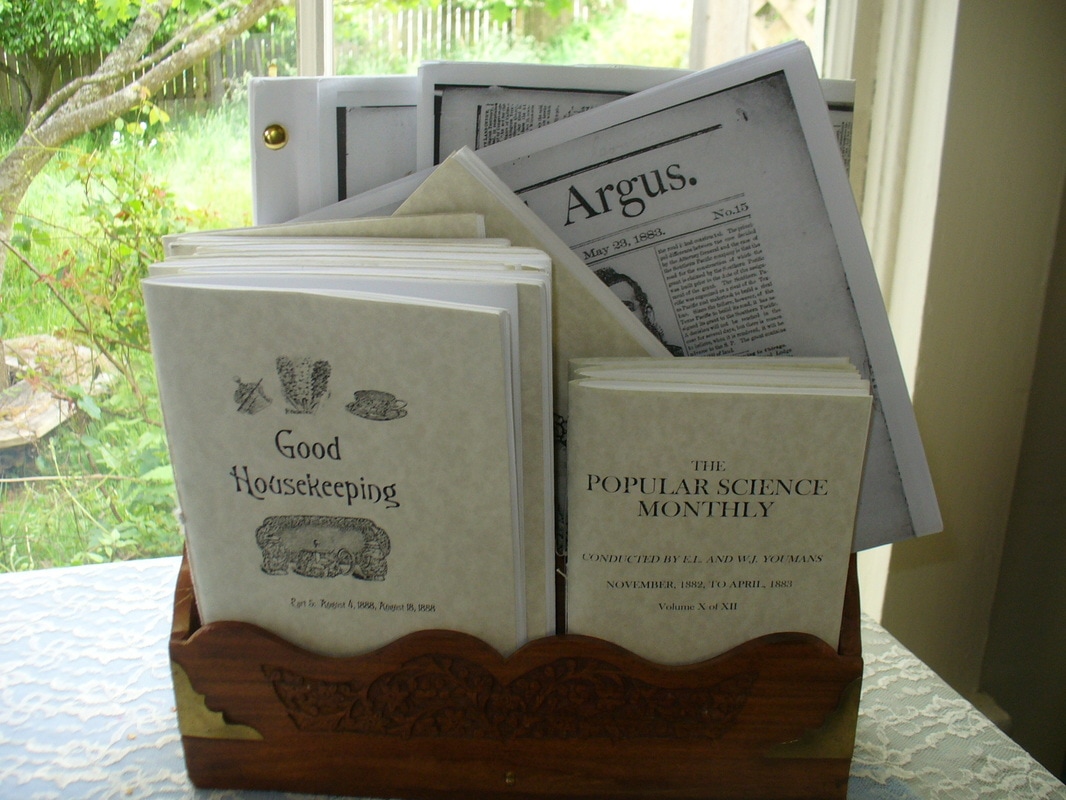
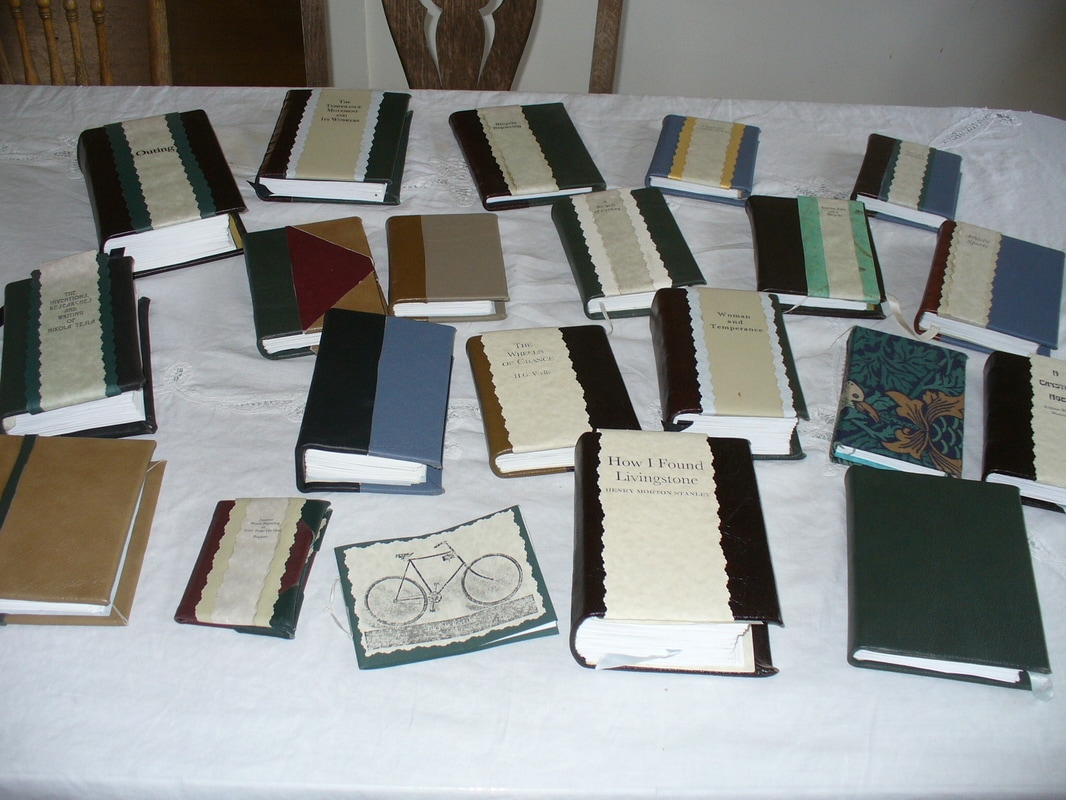
Unfortunately, antique ephemera is naturally quite fragile and requires great care. Because we do enjoy reading so much, we often find ourselves doing so in situations where there would be a danger of damaging a fragile antique - such as in the bathtub, or during meals. For those situations, we create re-prints of 19th-century media by printing them out from digitized sources. Here's how we do it:
Unfortunately, antique ephemera is naturally quite fragile and requires great care. Because we do enjoy reading so much, we often find ourselves doing so in situations where there would be a danger of damaging a fragile antique - such as in the bathtub, or during meals. For those situations, we create re-prints of 19th-century media by printing them out from digitized sources. Here's how we do it:
Magazines and newspapers are easy. These can simply be stapled, attached with fasteners, or sewn into a single signature using a kettle stitch.
Books are a little more complicated…
Note: These instructions first appeared as a series of blog posts on this website back in 2012. I've put them all onto a single page to aid in usability.
For sources of fabric and bookbinding supplies, see our Resource Links page.
The Textblock
Starting with a pdf…
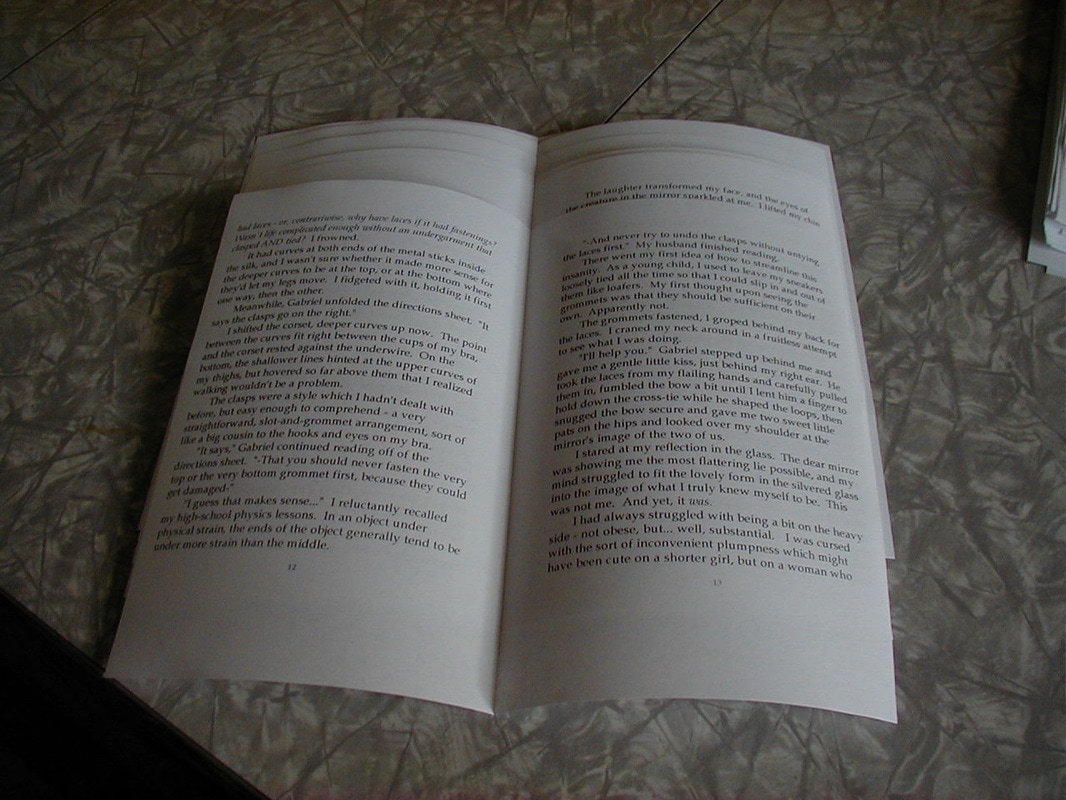
Download free imposition software off the internet. This is the program that puts the text pages in the correct order (each sheet of paper = 4 text pages, in nothing approaching consecutive order.) I use a program called Cheap Imposter.
Run the pdf file through the imposition software.
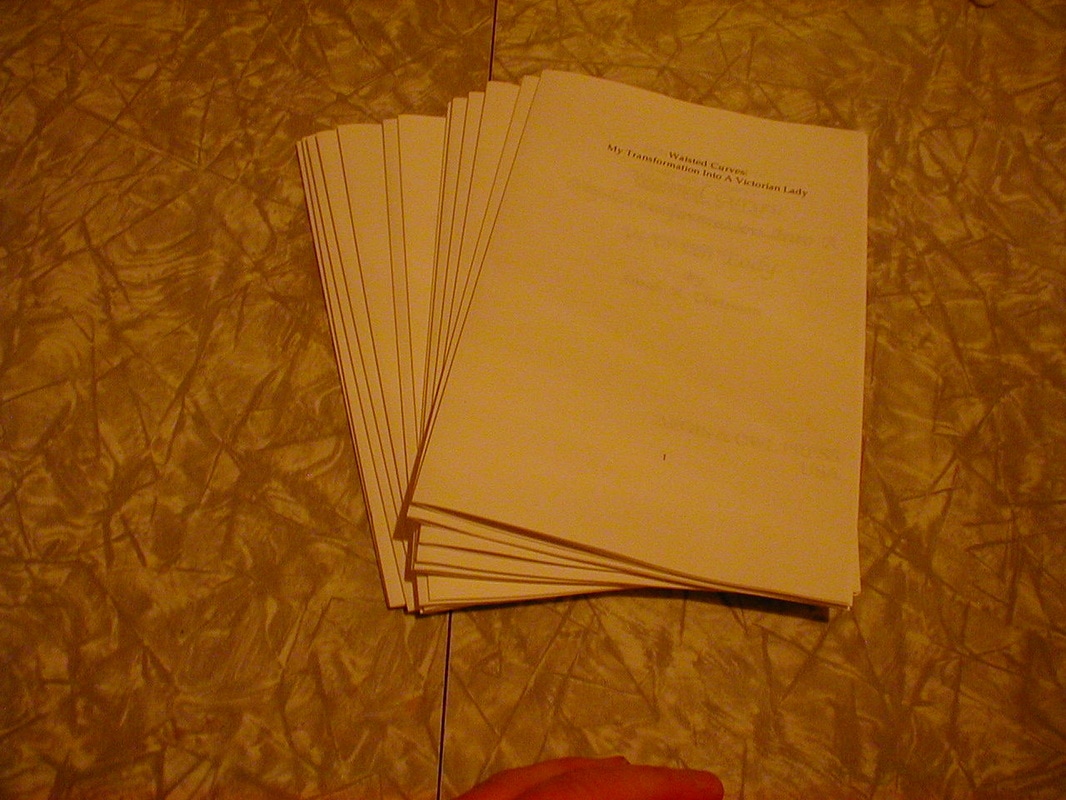
Print out imposed manuscript on acid-free paper.
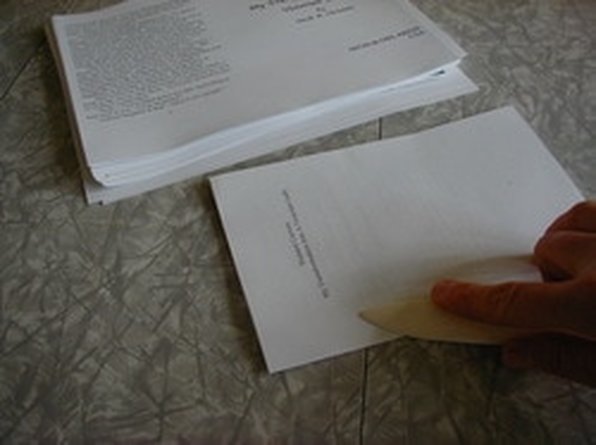
Fold each page individually. Unfortunately, the old trick of folding a bunch of pages at the same time doesn't work here, because each page has to be perfectly folded EXACTLY in half, or they won't line up in their signatures. So, each page gets carefully lined up, folded, then creased with a bone folder. This step can actually be pretty meditative. I'm sure it would drive a certain personality type insane, but I sort of like it.
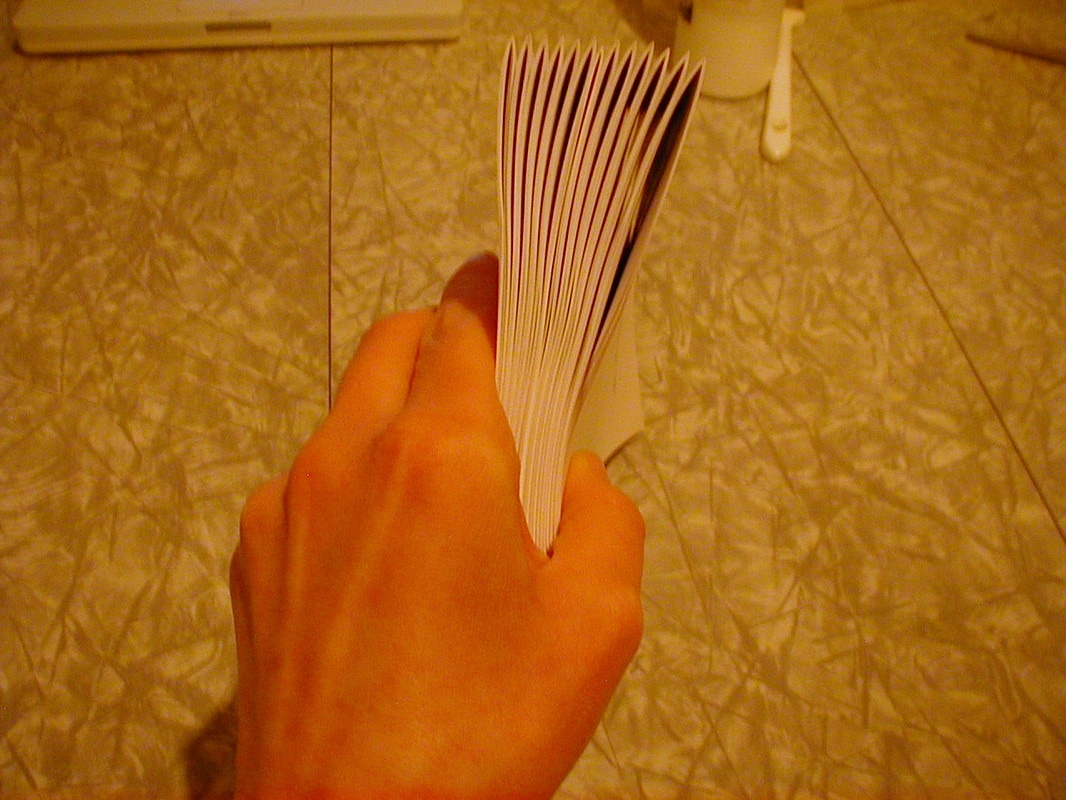
After they're folded, the pages have to be nested together into groups of pages called "signatures".
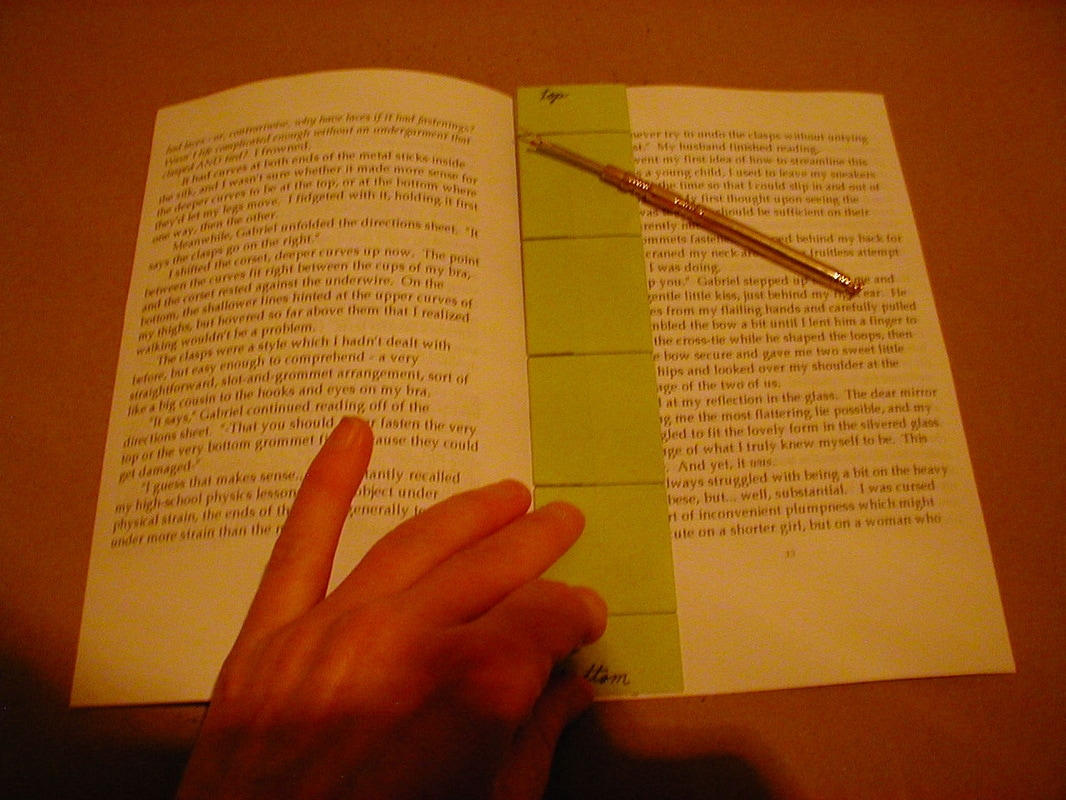
After all the pages in the manuscript have been folded, creased, and nested into signatures, line up a hole-guide in the center of each signature.
Punch evenly-spaced holes in the signatures. (The bookbinding thread will later run through these holes.)
Attempt to thread the bookbinding needle. (A special Irish linen thread is used for bookbinding. It is much stronger than anything used in normal sewing.) Curse at the unknown person who decided bookbinding thread should be larger than the eyes of bookbinding needles. Eventually get the *#!@* thread into the needle.
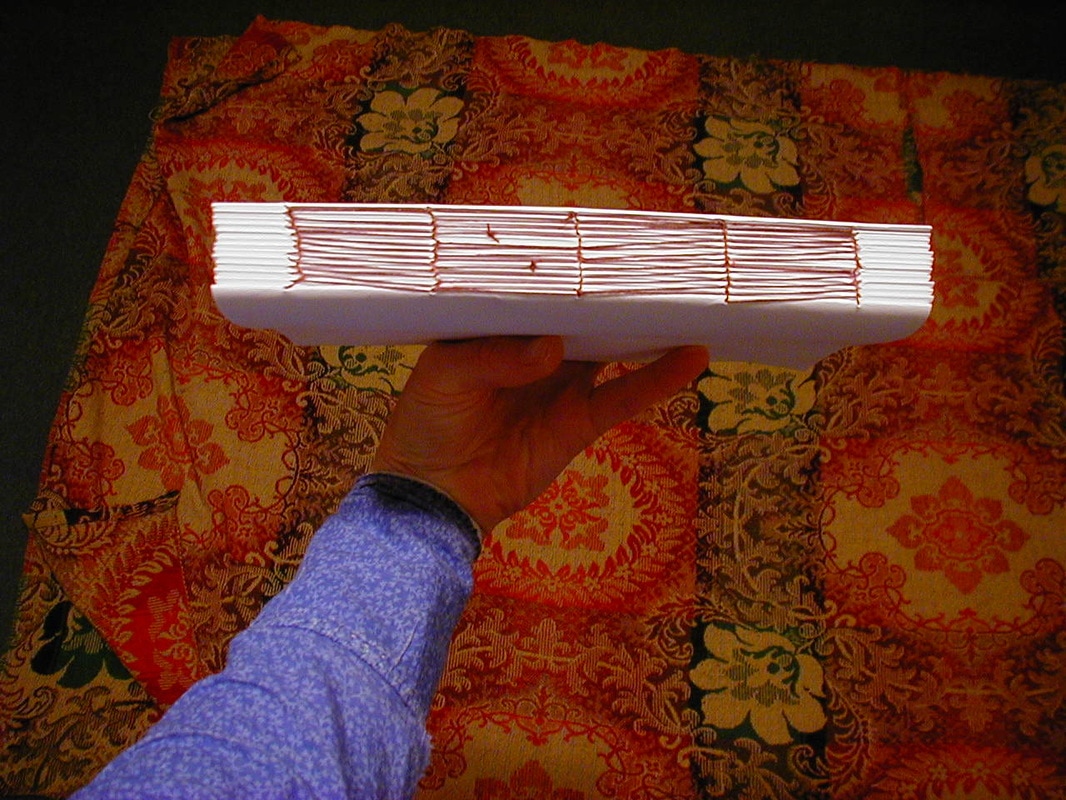
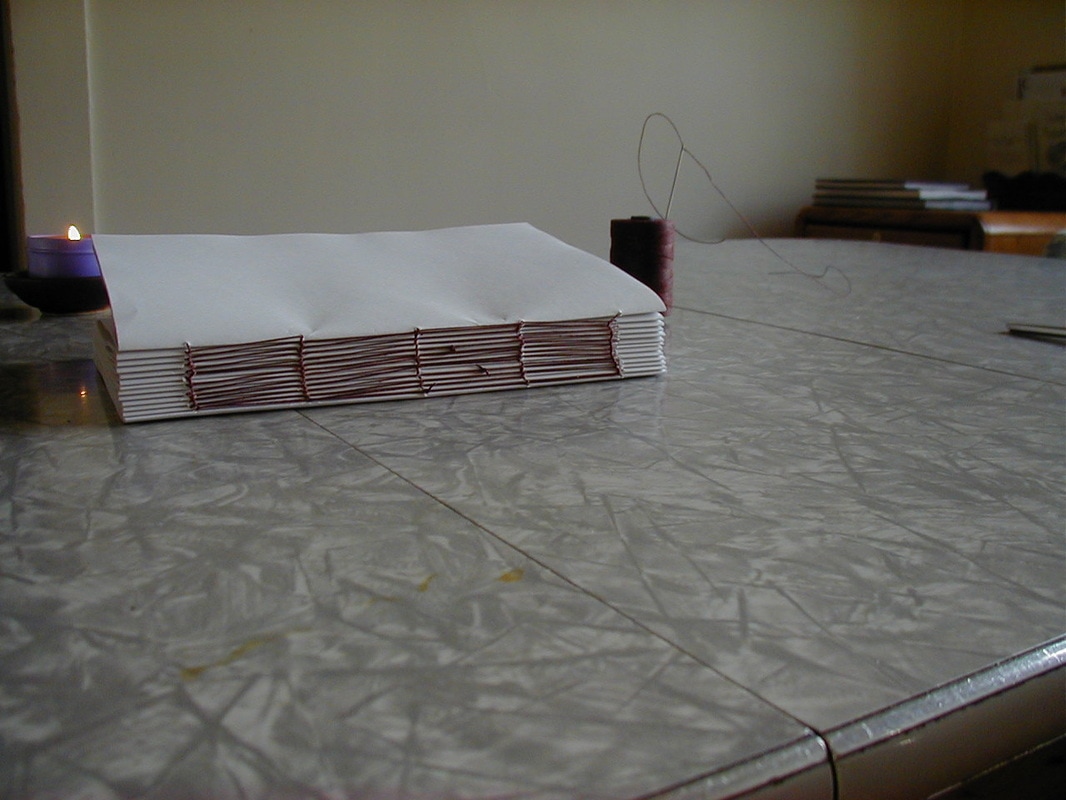
Sew the signatures together, using a combination of something not far off from an embroidery stitch, and a variety of knots I otherwise hadn't seen since getting my knot-tying merit badge in Camp Fire in fifth grade. (This is technically called a “kettle stitch,” and instructions for it may be found on other websites through a quick Google search.) Curse at the thread which keeps wanting to tangle. Curse at the signatures which don't want to stay together. Finish sewing the signatures together.
Once the signatures are together, they are known as a "text-block". Hurray! It's basically a book now, sans cover. Time to make the cover (known in bookbinding as the "case.")
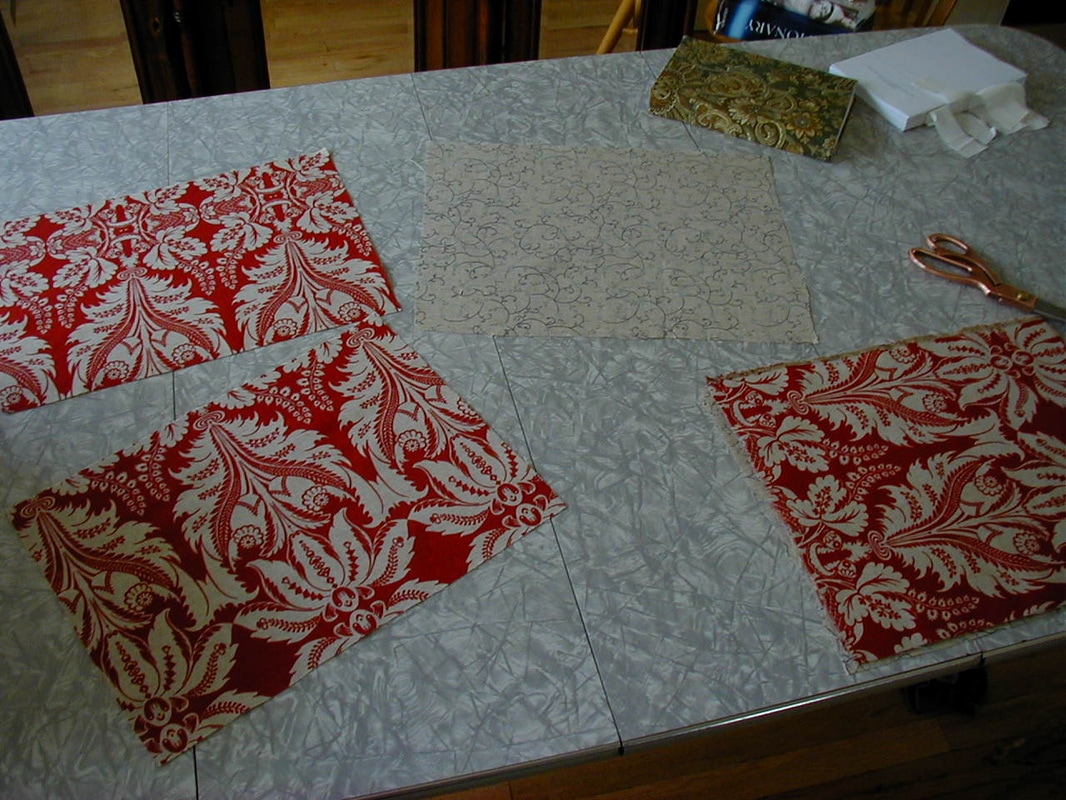
The CaseFor cloth-bound books: Search out sturdiest and most visually appealing fabric options. I’m currently quite fond of a supplier called William Booth Draper, who make their fabric to match traditional ones from the eighteenth and nineteenth centuries.
http://www.wmboothdraper.com/ For other fabric sources (and sources of other bookbinding supplies, like bone folders and bookbinding thread) see our Resource Links page.
For leather-bound books: Go to a leather supplier and hunt out pieces of leather thin enough, but with enough square area, to cover books. (Garment leather is ideal.) Get covered in leather dust while digging through the swimming-pool sized bin at the leather supply warehouse. Briefly wonder why anyone would ever think goatskin dyed to look like zebra was anything short of incredibly tacky. Hunt through available leather options some more. Buy leather.
(For the sake of simplicity, the remaining text will describe making a cloth-bound book. Leather-bound books have all the same steps, substituting leather for the cloth, and omitting ironing.)
Procure coverboard. Coverboard is basically acid-free, extremely thick tagboard made specifically for bookbinding.
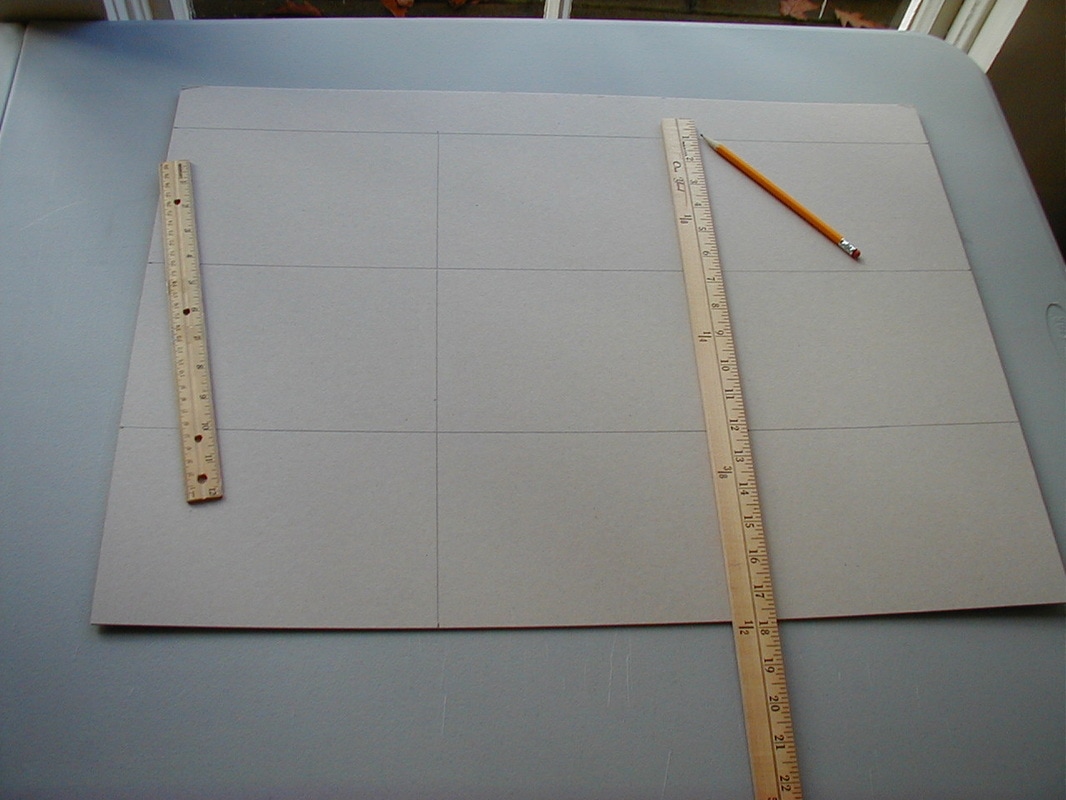
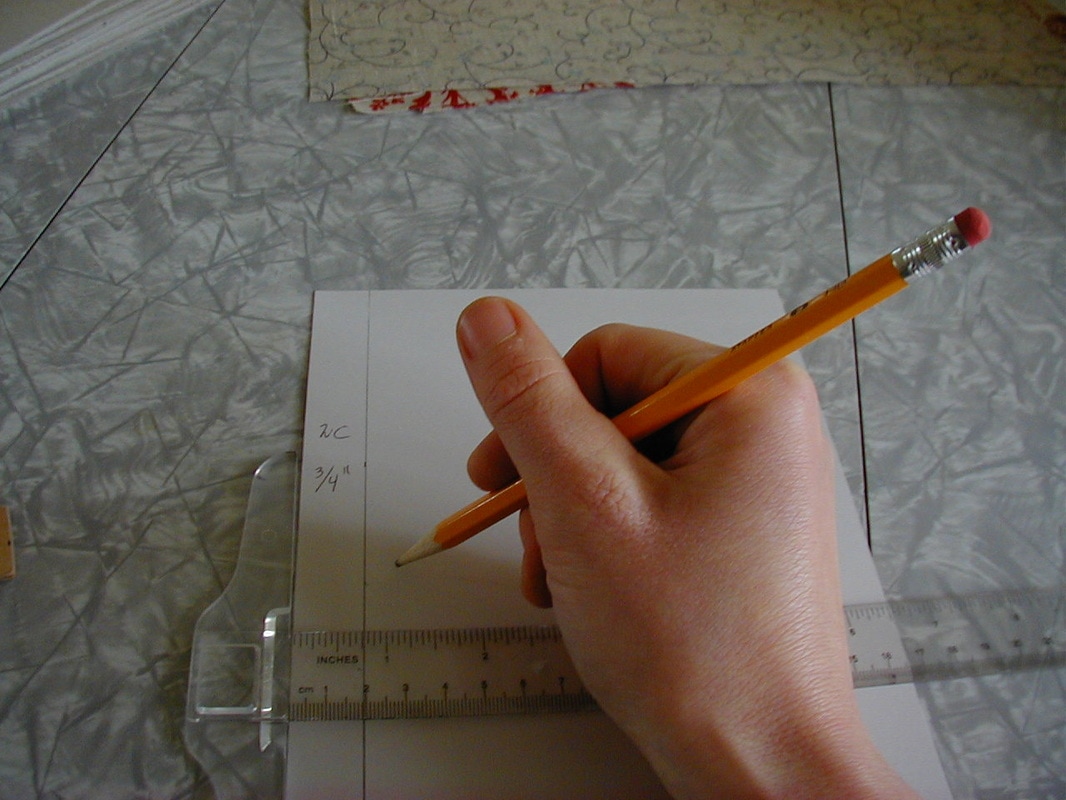
Using a T-square and a yardstick, mark the coverboard into rectangles sized to match the pages of the text-block. One sheet of coverboard yields 16 of these rectangles (enough to make 8 books).
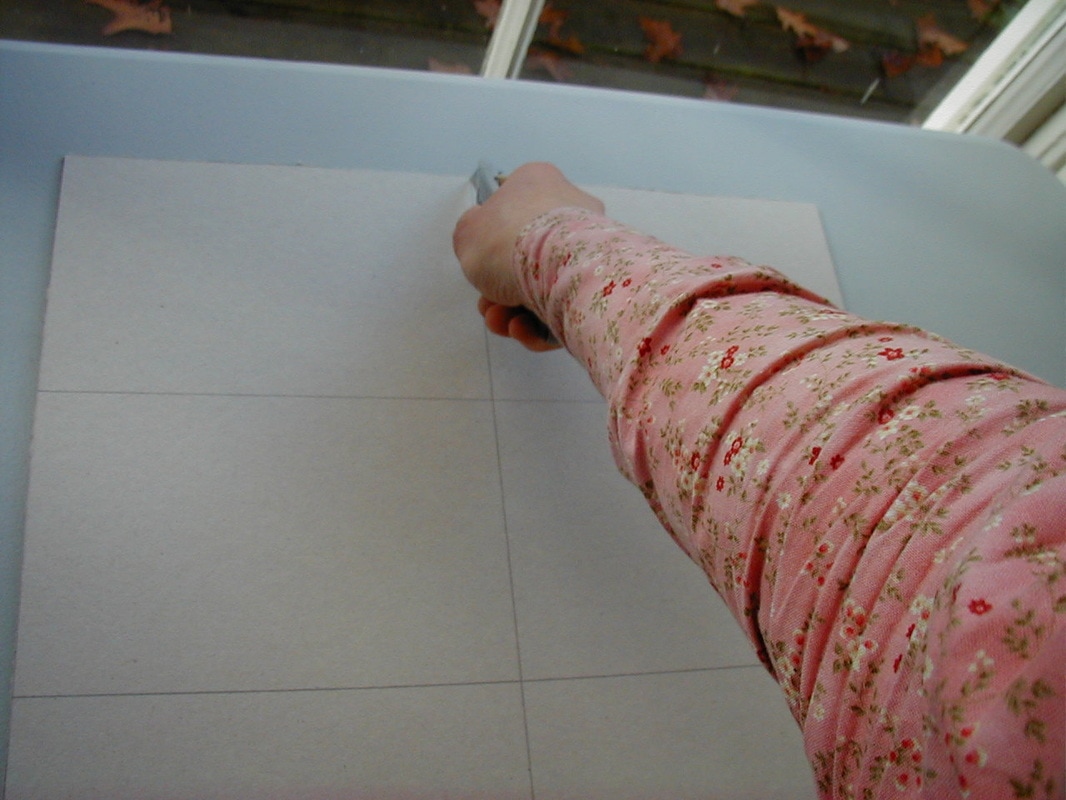
Use a utility knife to cut out the coverboard rectangles. (These will become the actually "hard cover" we talk about when we describe hardcover books.)
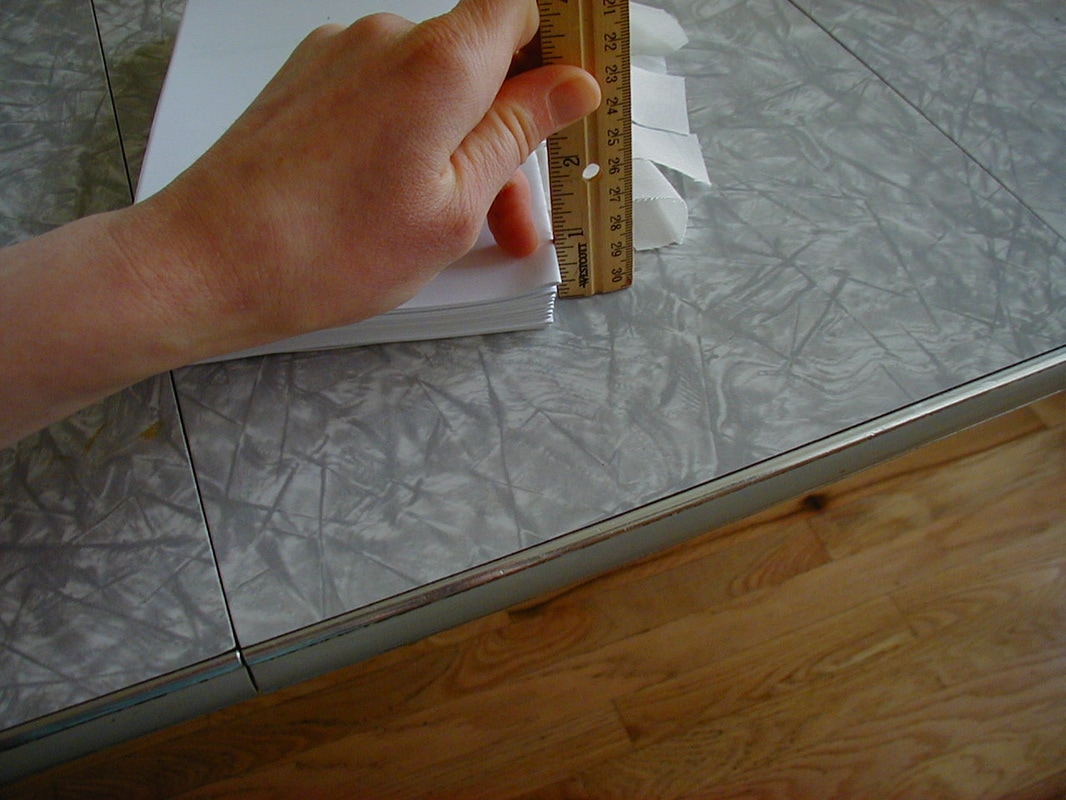
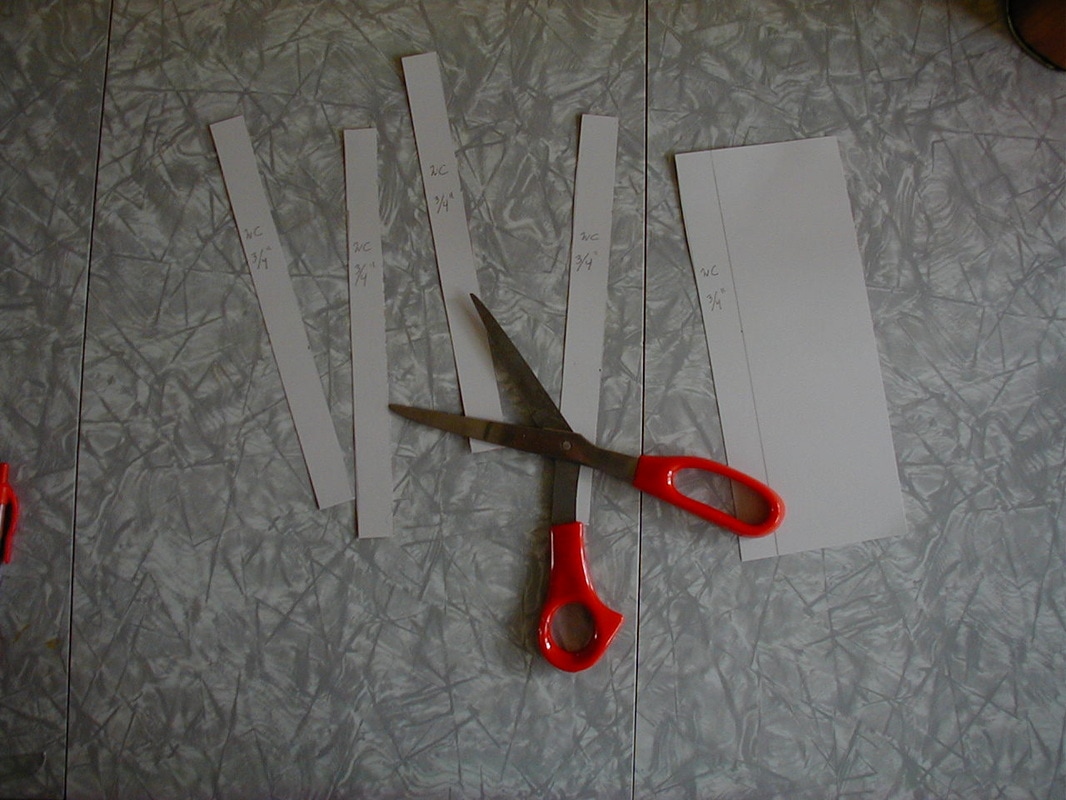
Measure the spine of the text-block. Cut out a spine strip to match.
Cut the cloth into rectangles.
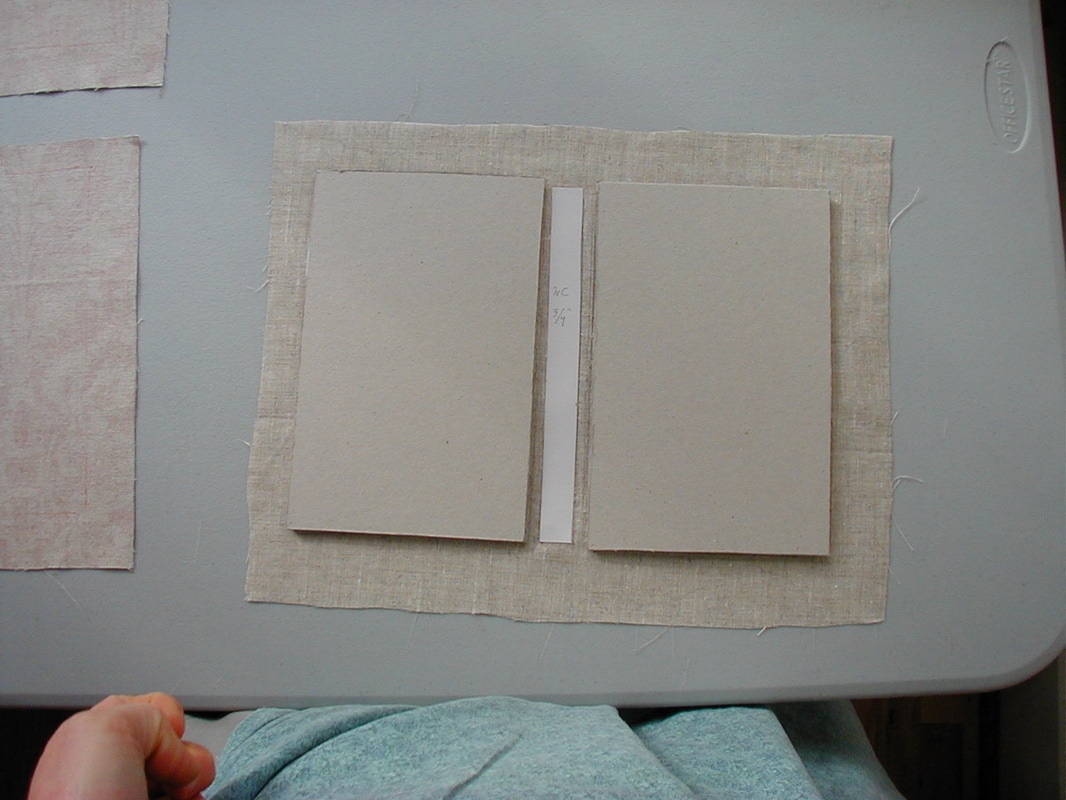
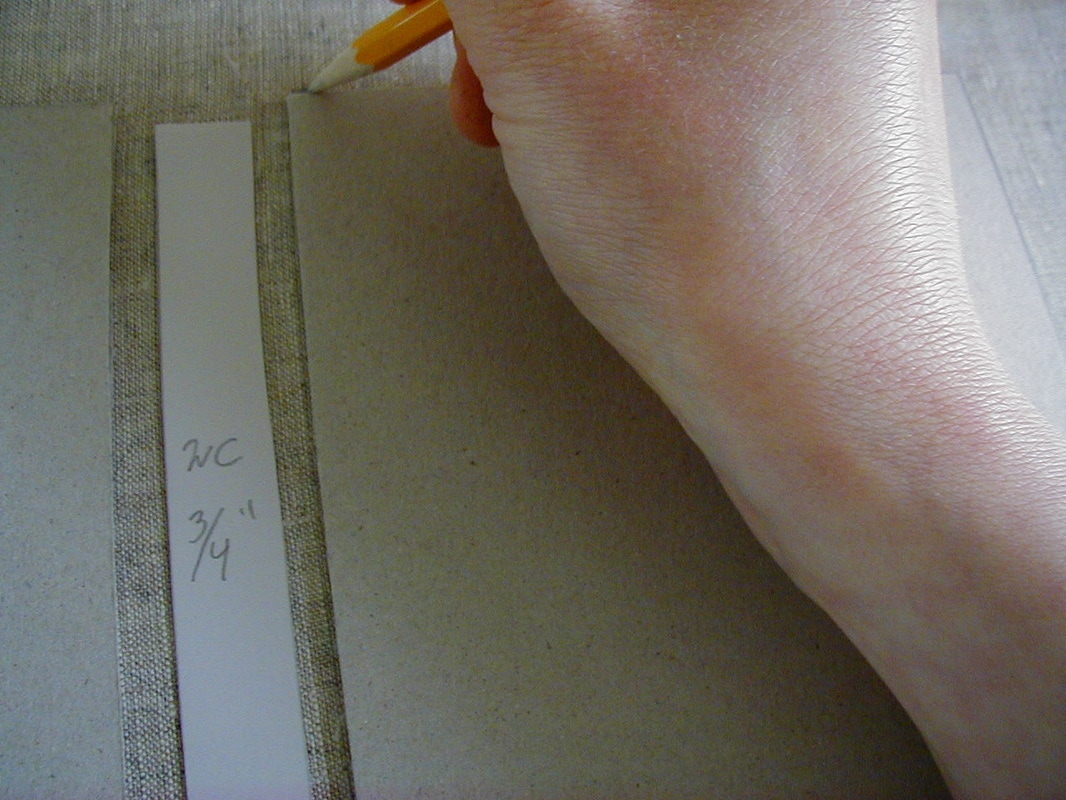
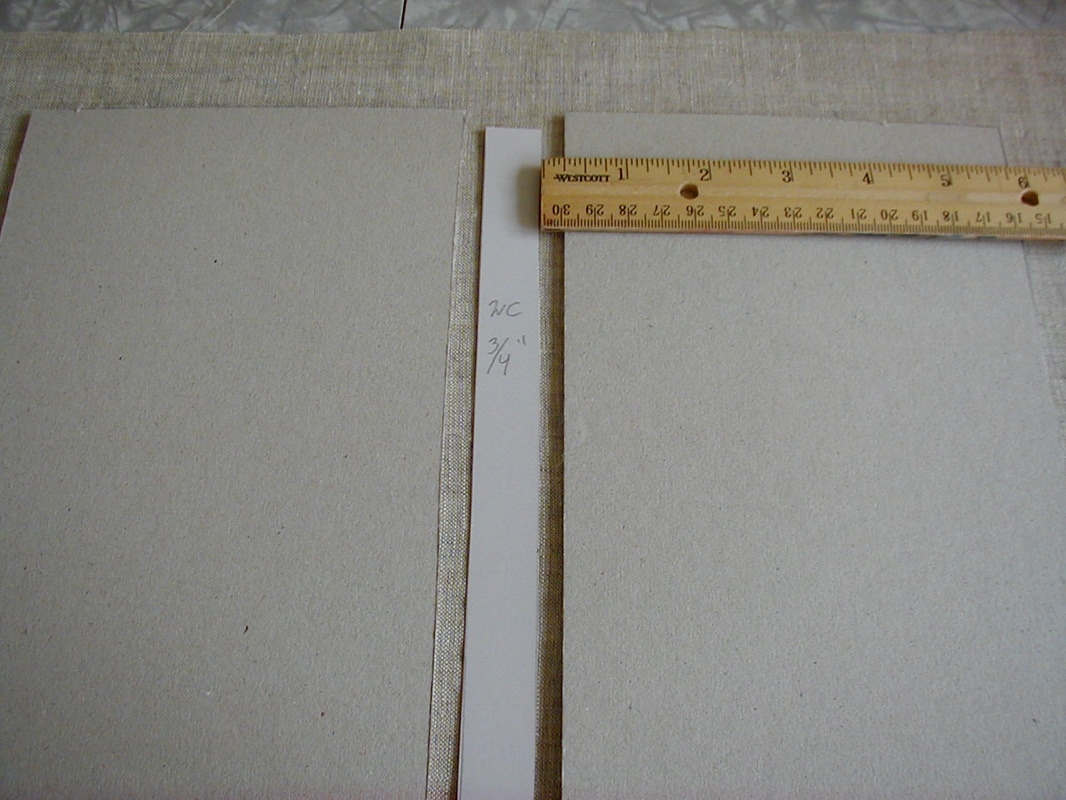
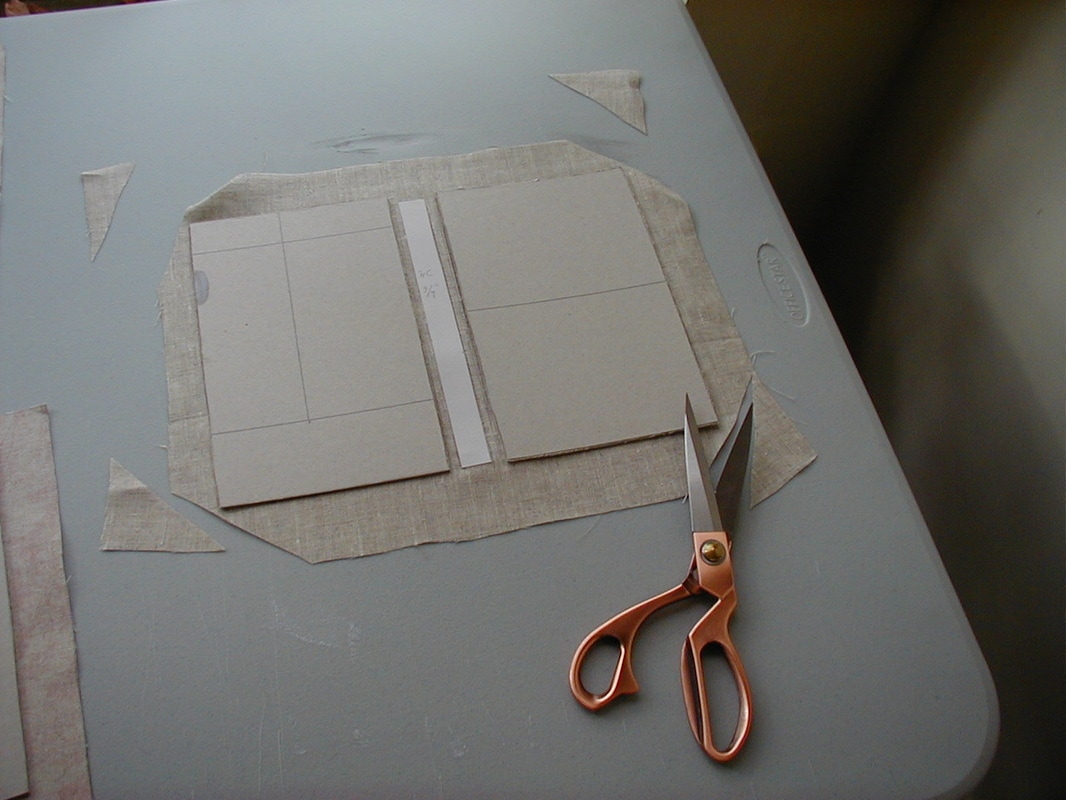
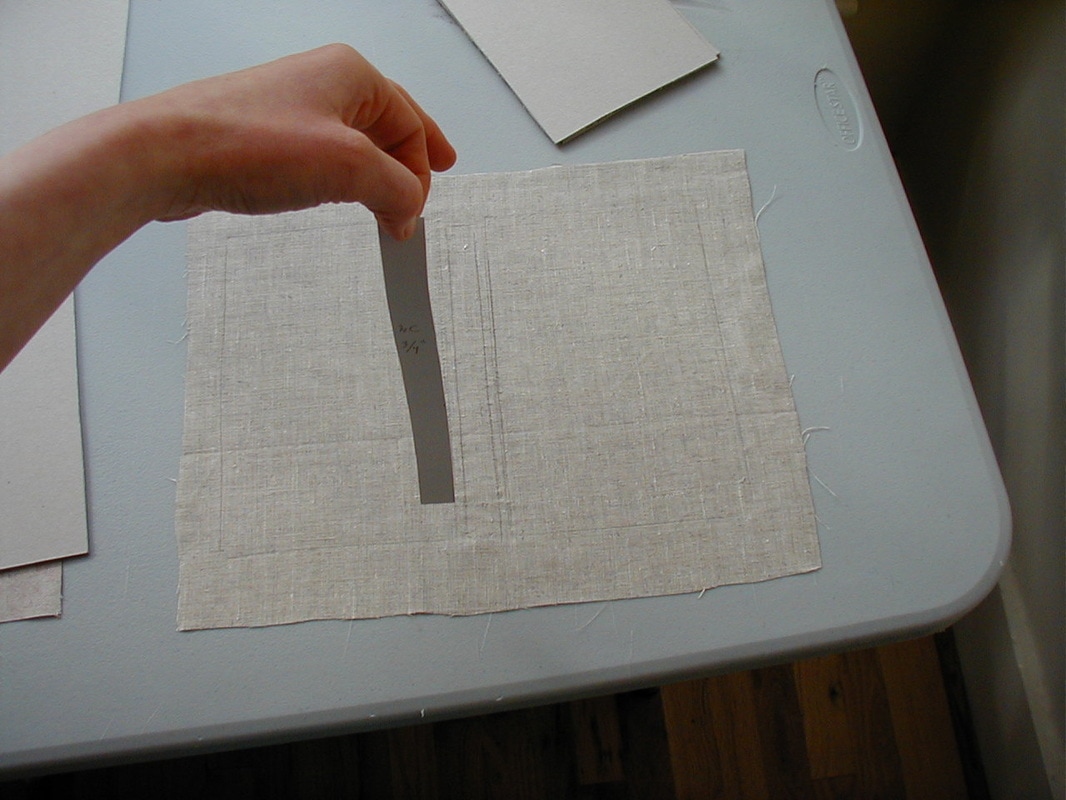
Arrange two coverboard rectangles and the spine strip on the cloth. Leave about 1/4" between the cover boards and the spine strip. Trace around them.
Cut off the pointy corners of the cloth, so the sides can be folded in without overlapping.
Don an apron. (This step is not optional.)
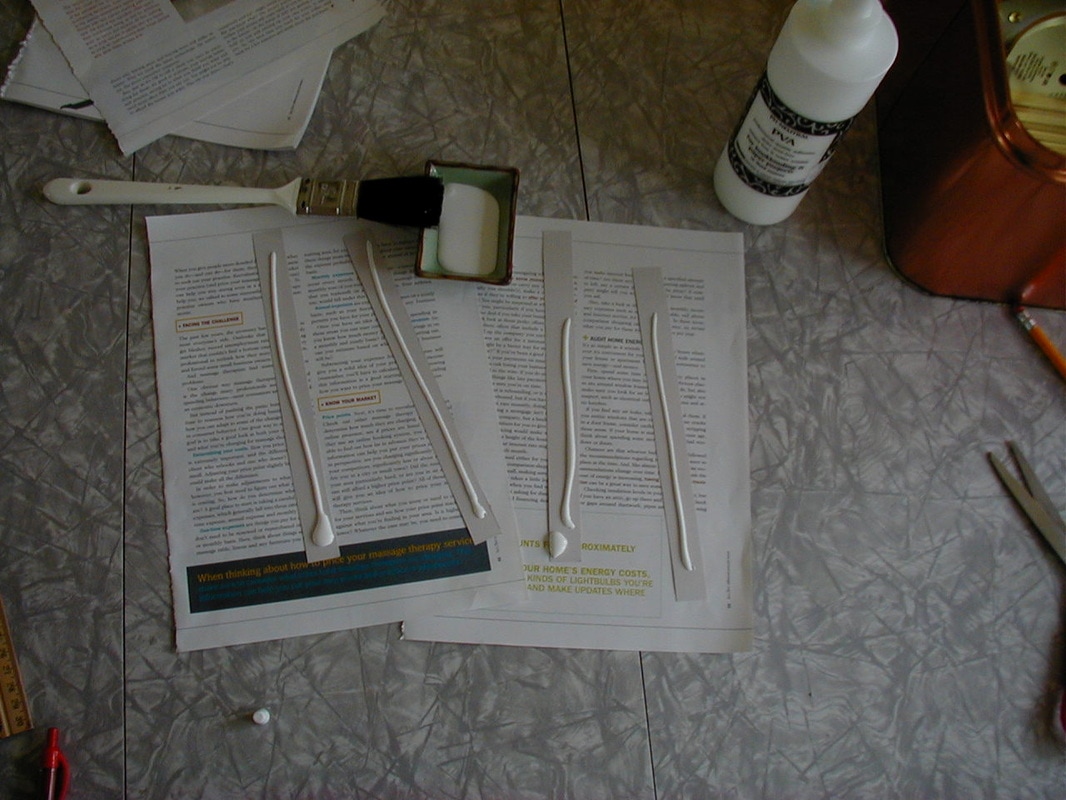
Apply glue to the spine strip.
Apply glue to the spine strip.
Apply the spine strip to the cloth.
Apply glue to the coverboards.
Attach the coverboards to the cloth.
Glue down sides of cloth. Get glue all over hands. Be glad you're wearing an apron.
Wait for the case to dry. Wish there were some faster way to do this.
When the Textblock Meets the Case
Cut strips of cloth to make endtapes.
Run endtapes through a tapestry needle.
Use a bamboo skewer to hold the linen bookbinding thread out of the way while endtapes are inserted under stitches on spine of textblock.
Select two sheets of nice, acid-free paper. (These are called "endpapers".) Fold each endpaper in half.
Crease folds in endpapers using a bone folder.
Line up endpapers, exposing the 1/8th inch of the endpapers closest to the folds. Apply glue to this area.
Attach the endpapers into the front and back of the textblock.
Arrange the text-block spine-down on the case, with the pages standing up at a 90 degree angle from the case.
Glue the end tapes to the case.
Cover the endtapes with waxed paper.
Prop the whole arrangement in place with heavy dictionaries. Wait for the glue to dry.
When the glue is dry on the endtapes, apply glue to the side of each endpaper closest to the case and fold them down against the case, thus hiding the ugly coverboard.
Put waxed paper over endpapers. Weigh down with heavy dictionaries or other books until dry.
The book is now complete!
Read it.
Maintaining this website (which you are enjoying for free!) takes a lot of time and resources.
Please show your support for all our hard work by telling your friends about Sarah's books —and by buying them yourself, too, of course!
Tales of Chetzemoka
***
